WEEK l
For the first session, we went over how to block things out in unity. I accidentally didn’t save what I made in class but I did try to recreate it at home.
ENVIRONMENT INSPIRATION


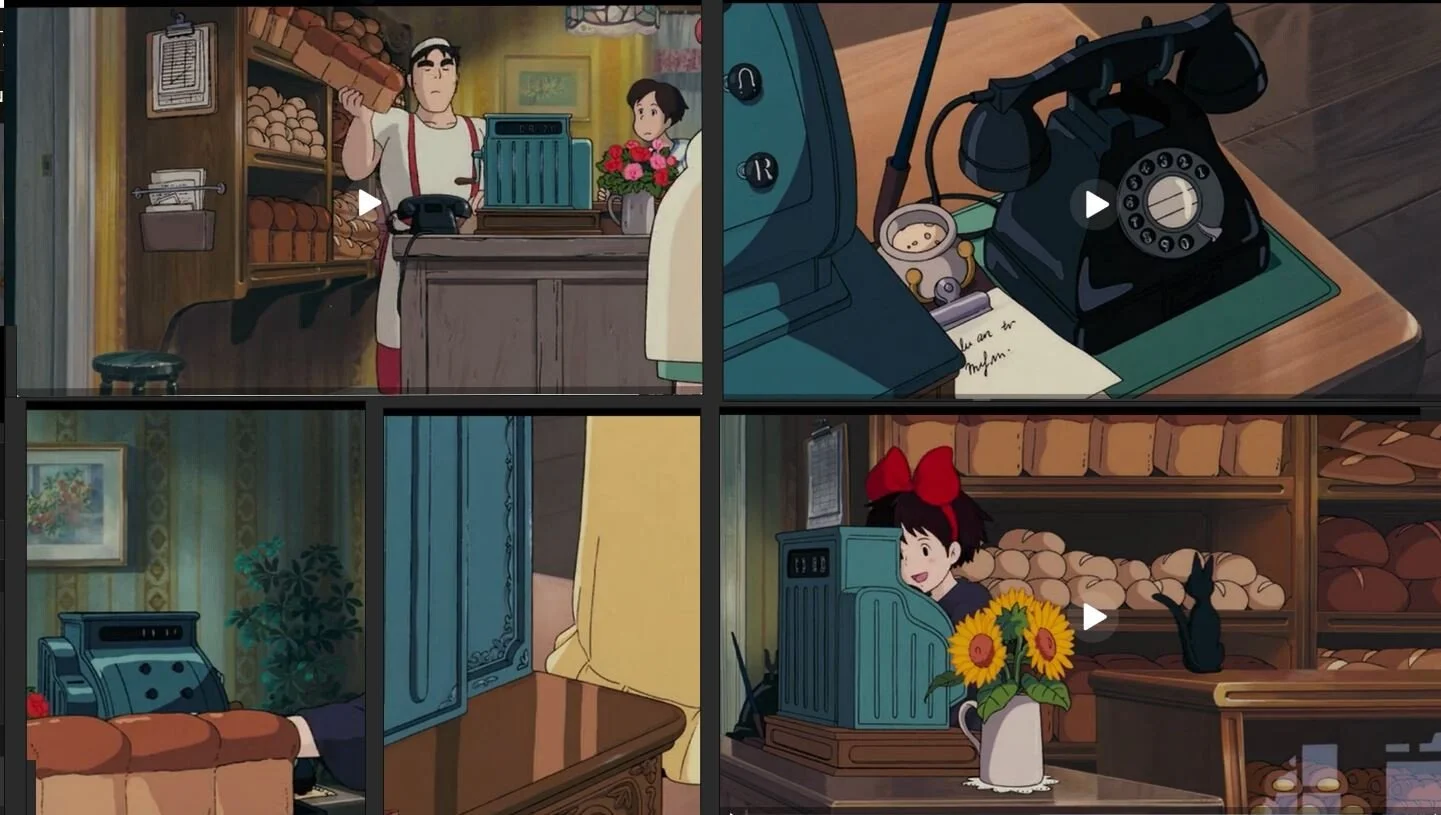
As level I would like to recreate the bread shop from Studio Ghibli’s : Kiki’s Delivery Service. I love the art style of this movie and the shapes seem simple enough to try to block out for a beginner like me.
ASSET IDEAS


As for assets, I like the idea of Gigi’s mug, a milk carton, and either Kiki’s broom or a soot sprite (which is not in this movie but from the same universe so it counts!). I originally thought of trying to model Gigi, the cat, but after using Unity I realized that may be too advanced.
I don’t have a PC at home yet that can support running unity so I will recreate what I accidentally deleted in class next week.

WEEK 2
In class today we worked in Unreal Engine. Having already used Unity last week, it was a lot easier to use the controls and follow along with the demonstration. We made a level with a sky and light source to in order to learn how everything works
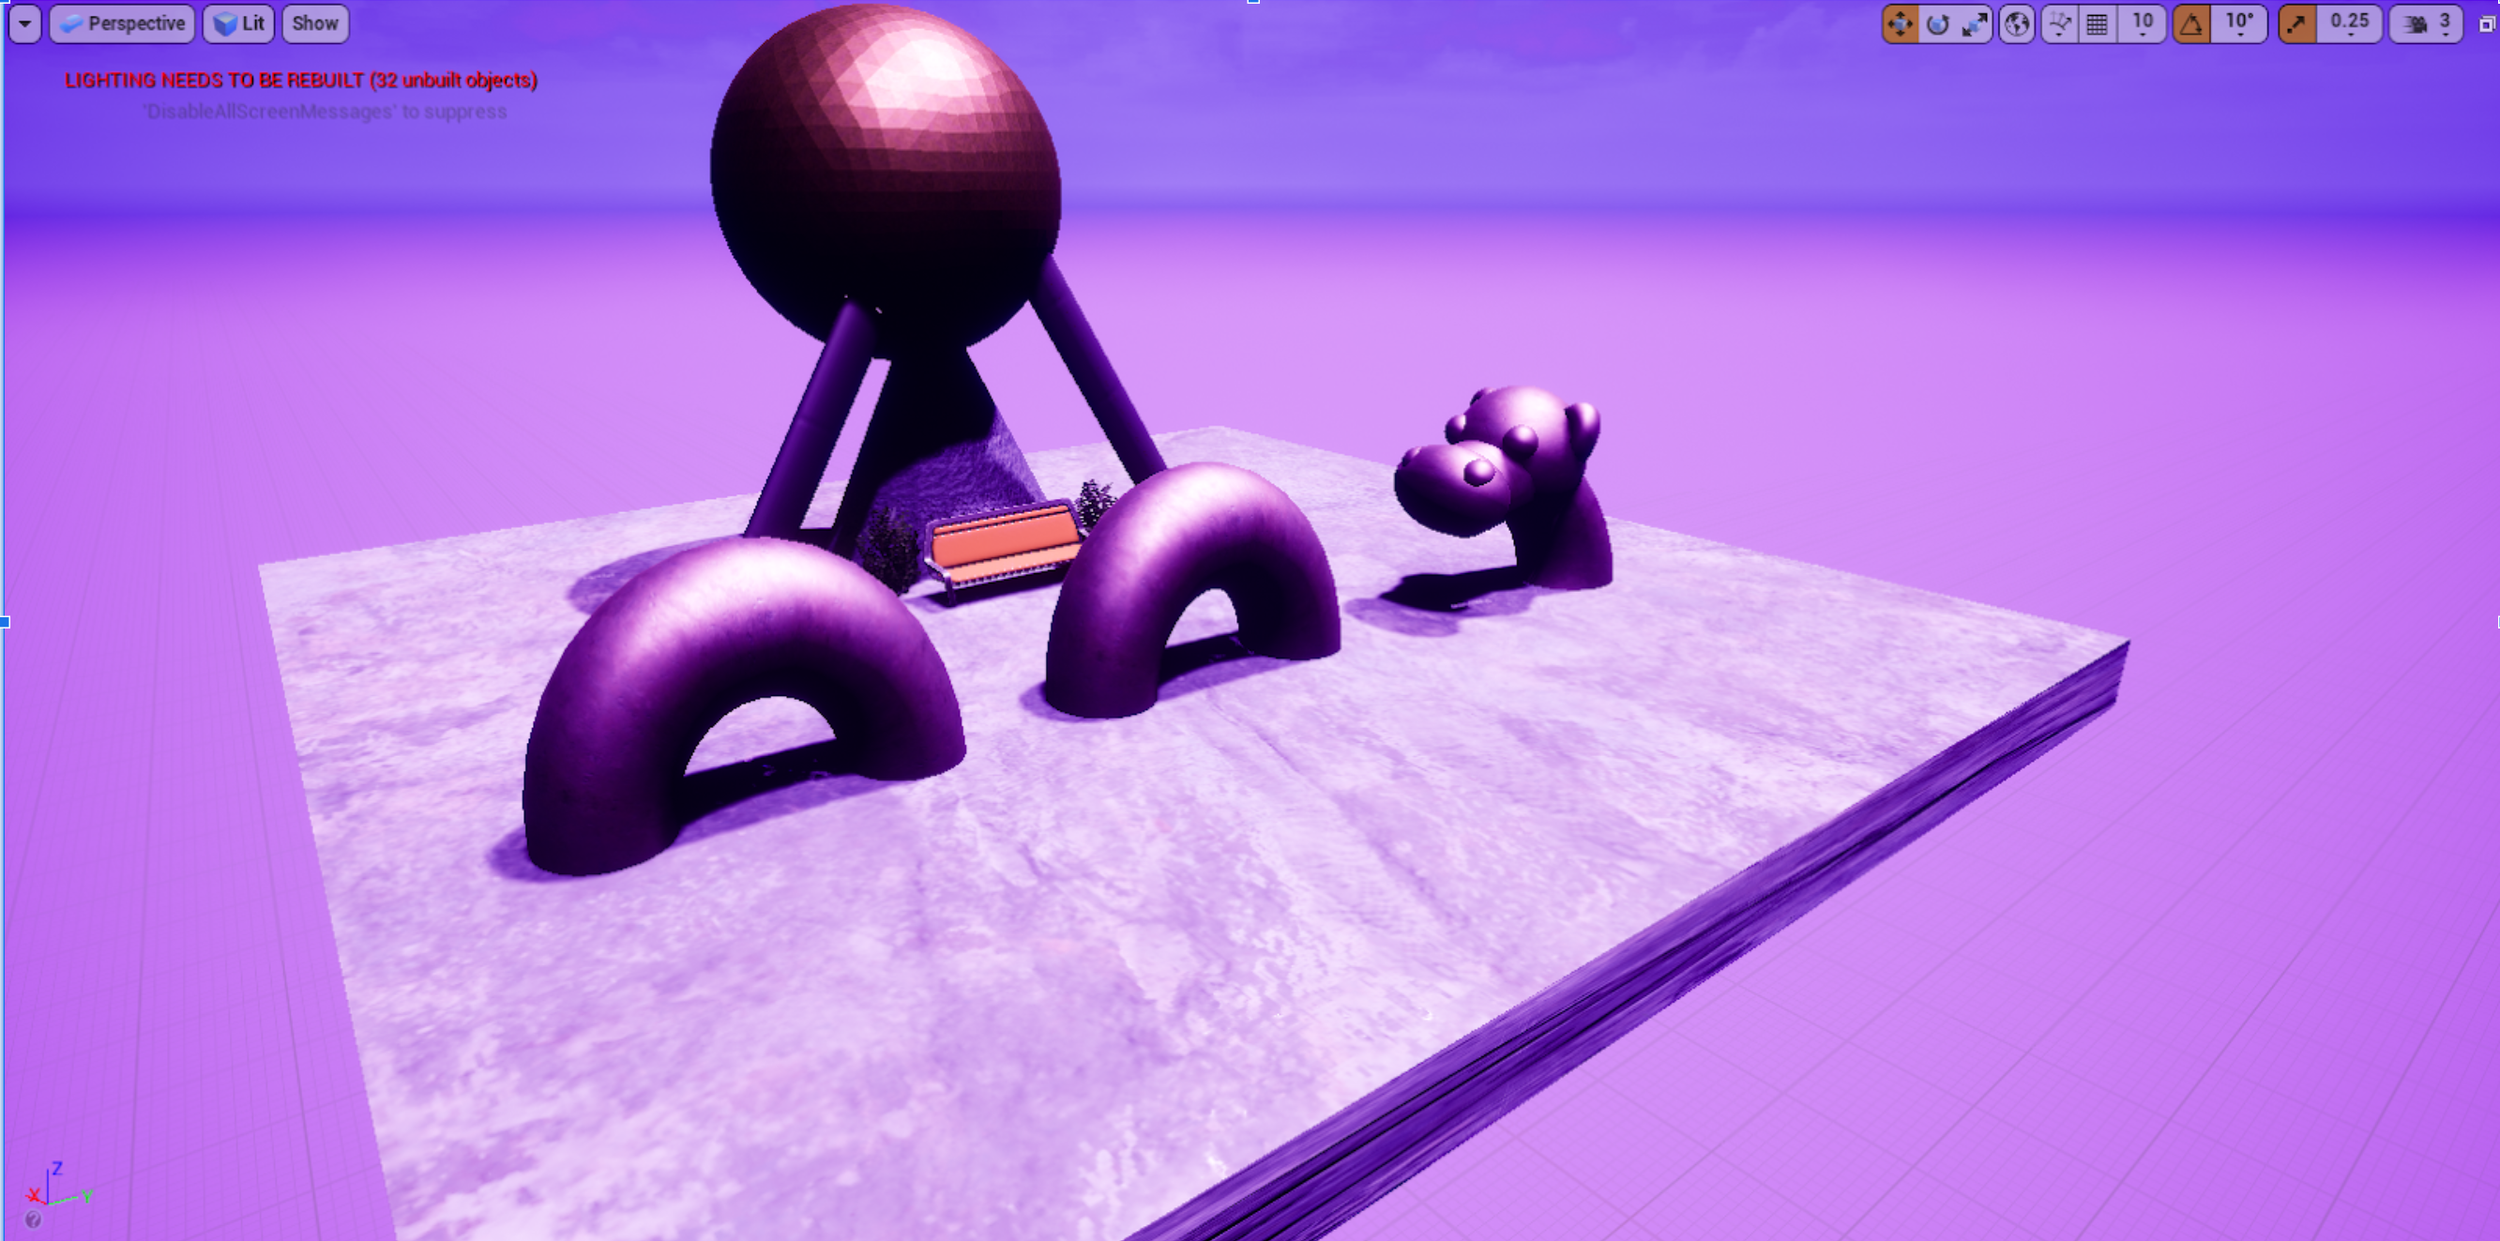
I made another level at home, since I didn't bring an external hard drive to class. I want to make sure I have something to work with incase I don’t get the same PC next week. Sticking to the weird theme, I made an alternate dimension which includes a cow shrine. I found trying to create a cow out of simple shapes quite fun since I don’t usually do this when I draw.

Kiki’s Bakery in Unity


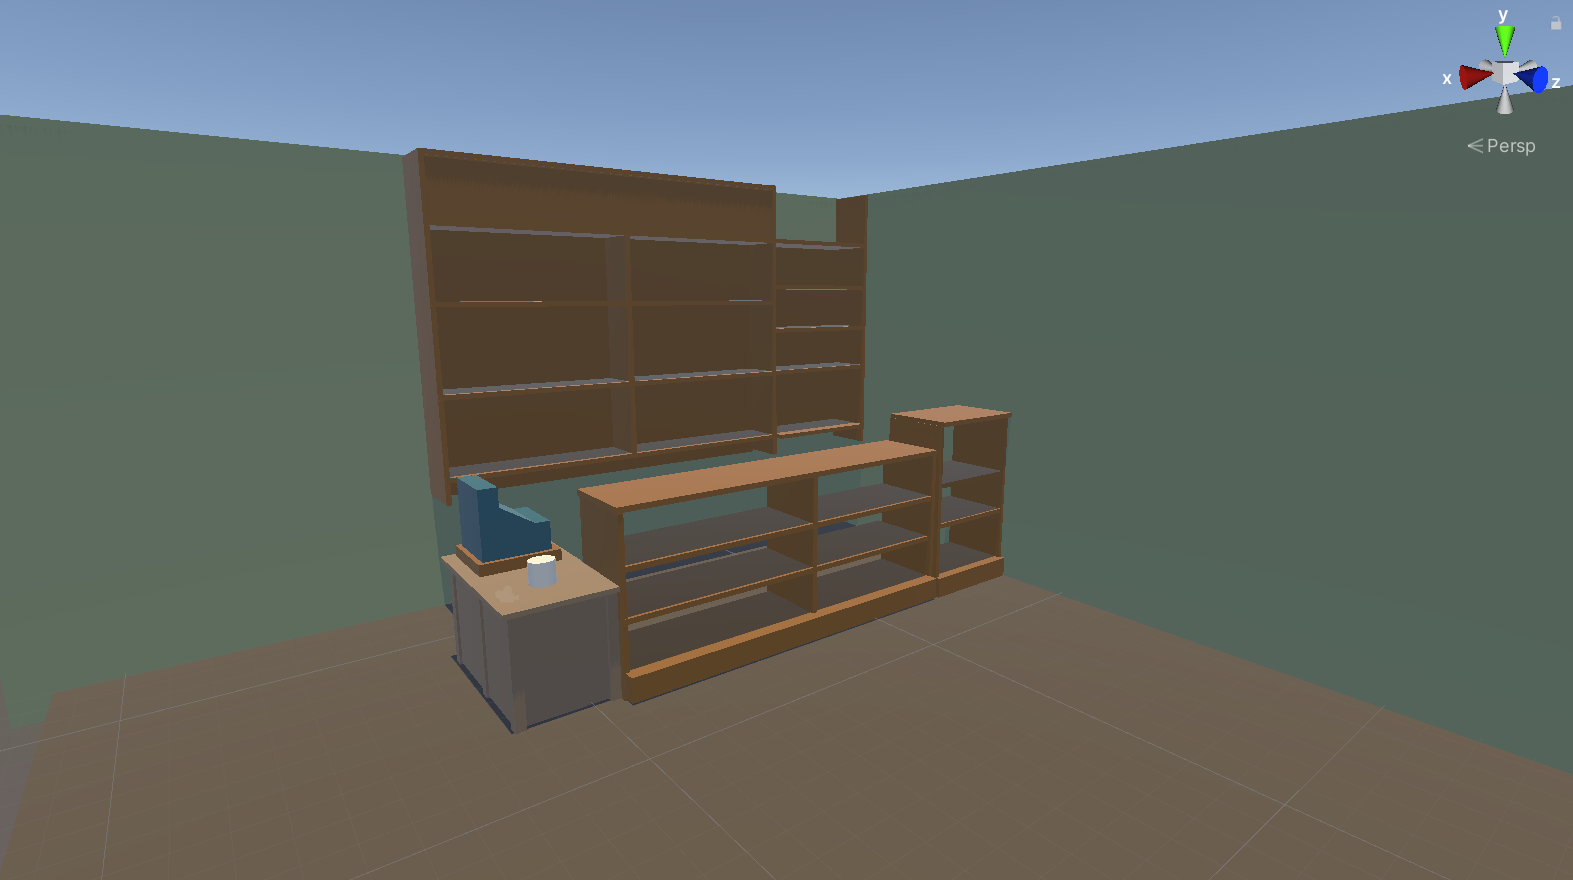
I have finally got myself a PC at home that can run Unity and Unreal engine smoothly. I began to block out the bakery from Kiki’s Delivery Service. It is a little annoying that you can’t cut out shapes in Unity without an extension. I felt as though I was building my own furniture from Ikea at times. I added a bit of colour to the scene as it was hard to see everything when it was all white. Doing this, did add a bit of definition, but it’s still a bit dull for my liking. I’m a little stuck on what to do to make it look better.
Building a Level in Unreal Engine
WEEK 3
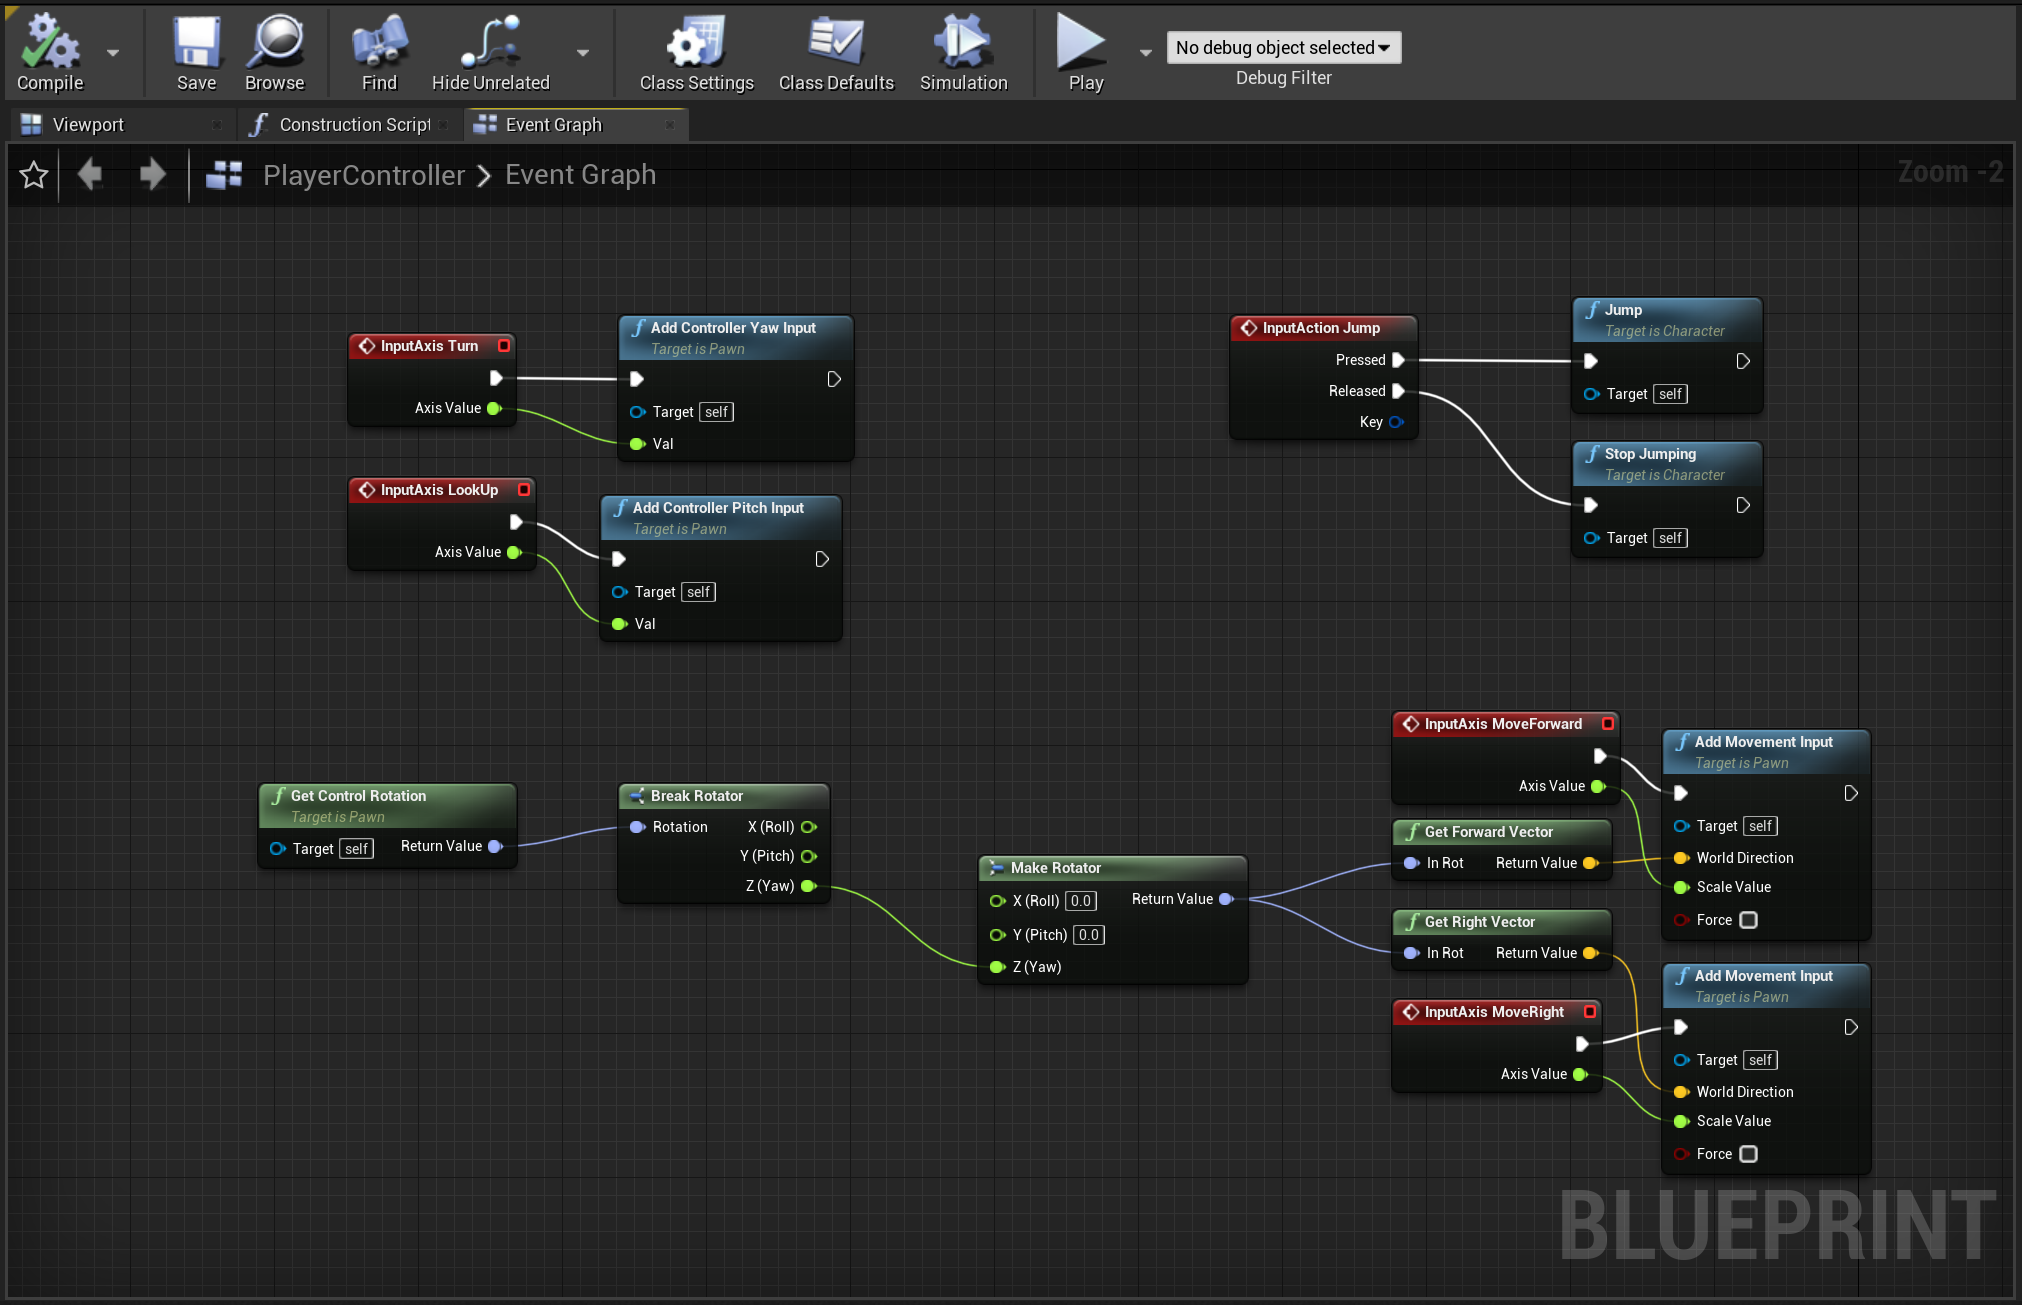

I found today's class quite overwhelming. We moved very quickly through things in class, but I was able to keep up. We western’t able to get through everything in class today so I followed along to the video uploaded to Aula on setting up the event graph.
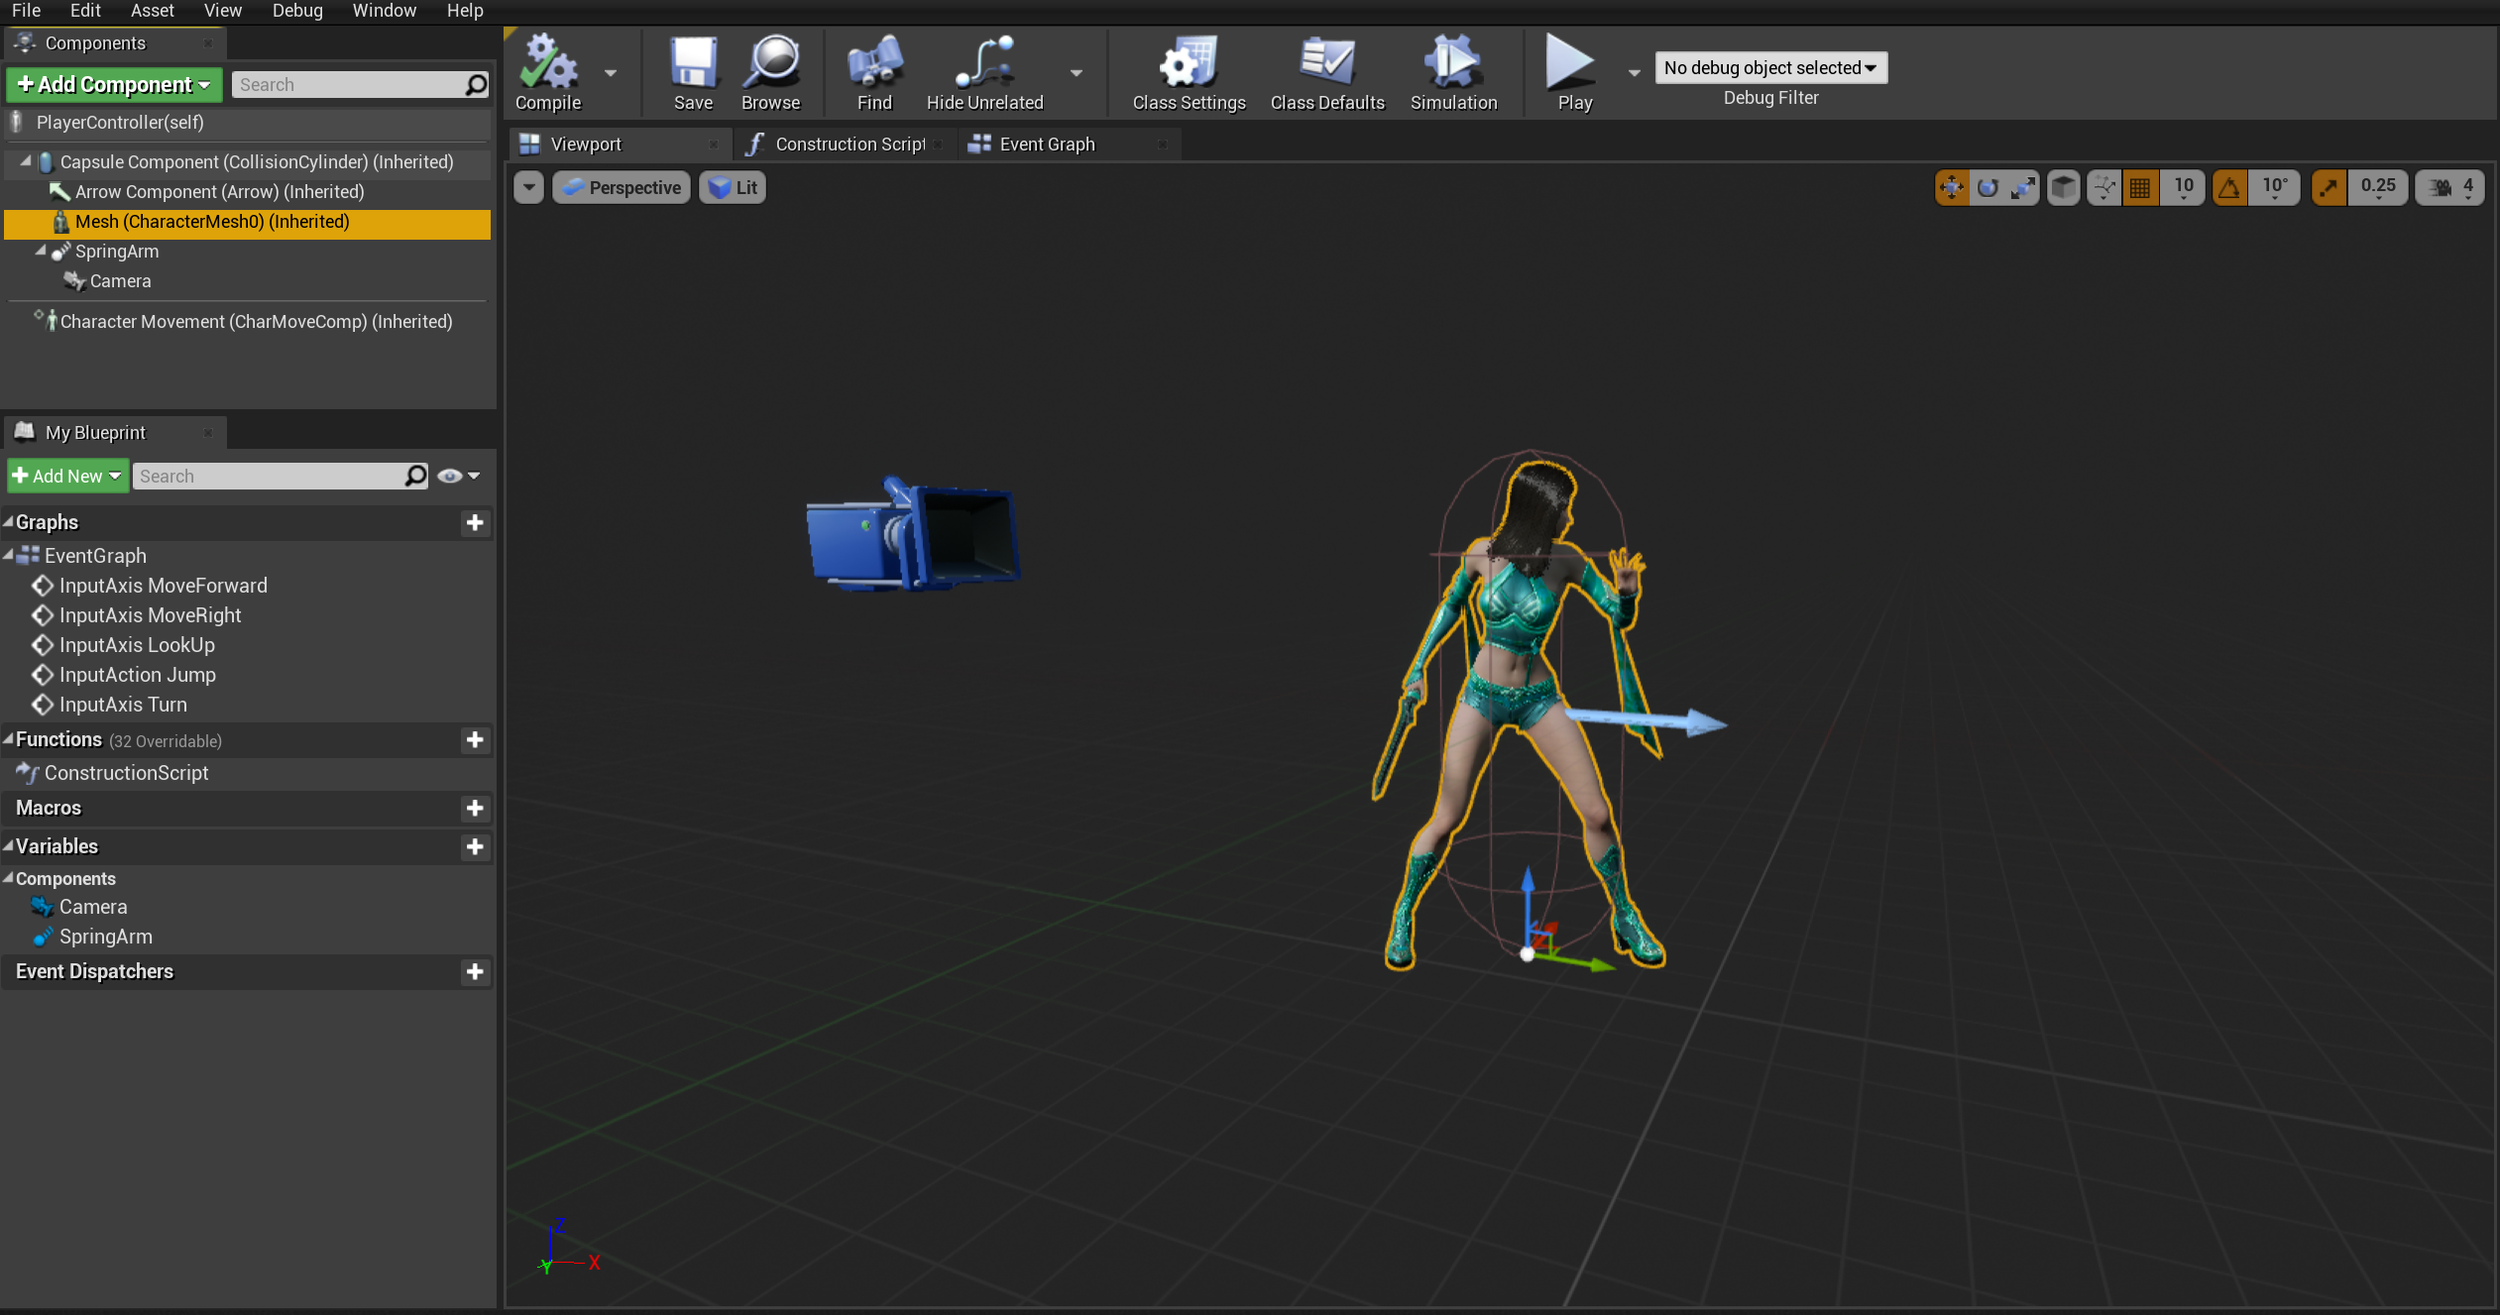
I find the event graph in the character editor very scary. I sort-of understood what I was doing, but the recap video didn't have any sound so I’m still not sure why things work the way they do. I still managed to get results and once I was done recreating the scene we did in class. I then made the character again in my cow shrine level that I made last week. It was very cool to be able to interact with a level that I had made from scratch.
Making a Character in Unreal Engine
WEEK 4


I wasn’t able to attend class today so I tried my best at home to figure out how to use Maya. My first thoughts when opening Maya was pretty similar to someone walking into a cockpit for the first time and looking at all of the buttons. With my first attempt I tried to make one of my chosen assets, Kiki’s Broom. I began to block it out with a few shapes, figuring out the controls alongside a tutorial. After a while I got quite frustrated and wanted to give up. I was trying to add the details to the broom bristles but couldn’t figure out how. So I put the broom to one side and watched a beginners tutorial on how to build a room in Maya. This video helped massively with my understanding of some of the tools. I learned to bevel edges, duplicate objects, use the multi-cut tool, make holes in a shape and extrude pieces of a simple object to create a more complex shape.
After feeling a lot more confident in my Maya Skills I tried to remake Kiki’s Bakery again. I was able to add more detail to my scene in Maya than in Unity, such as sloped counters, a window and a door. I think I would prefer to finish this scene in Maya. I then tried again with the broom. I was able to make it look more organic by accidentally stumbling across the ‘smooth’ button. I still have a long way to go, but I feel way more confident with the software now.
Understanding Maya
-
![]()
Kiki's Bakery in Maya
-
![]()
Kiki's Bakery in Unity
-
![]()
Broom First Attempt in Maya
-
![]()
Broom Second Attempt in Maya


WEEK 5
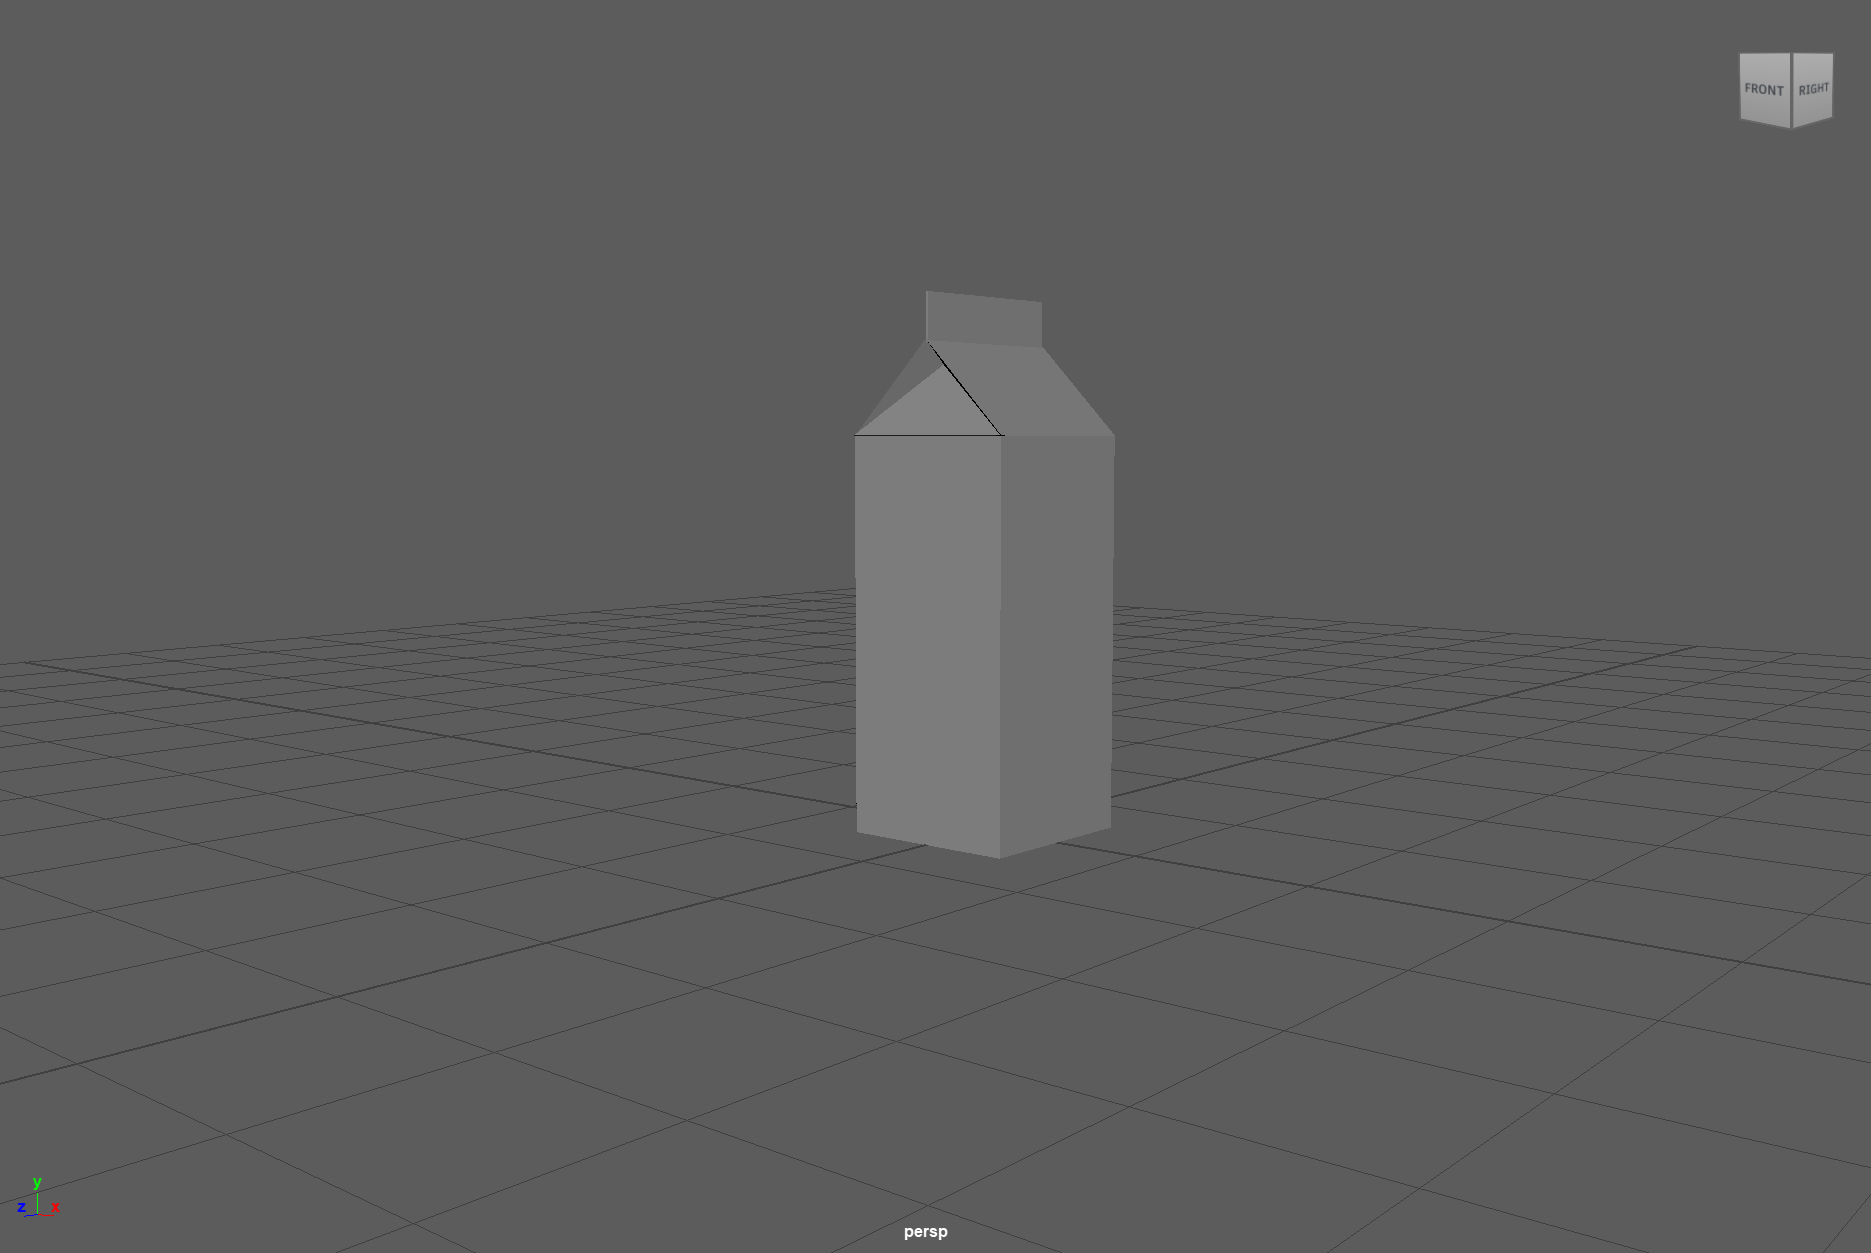
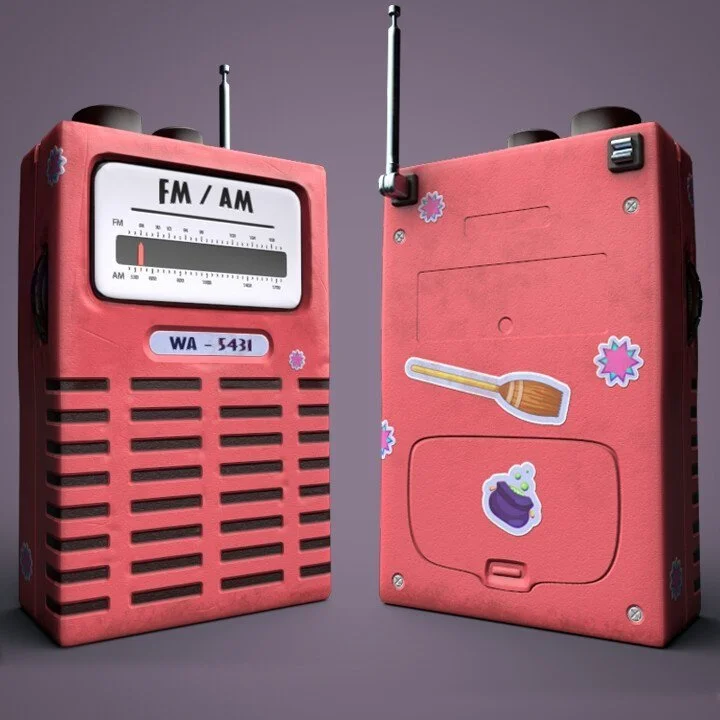
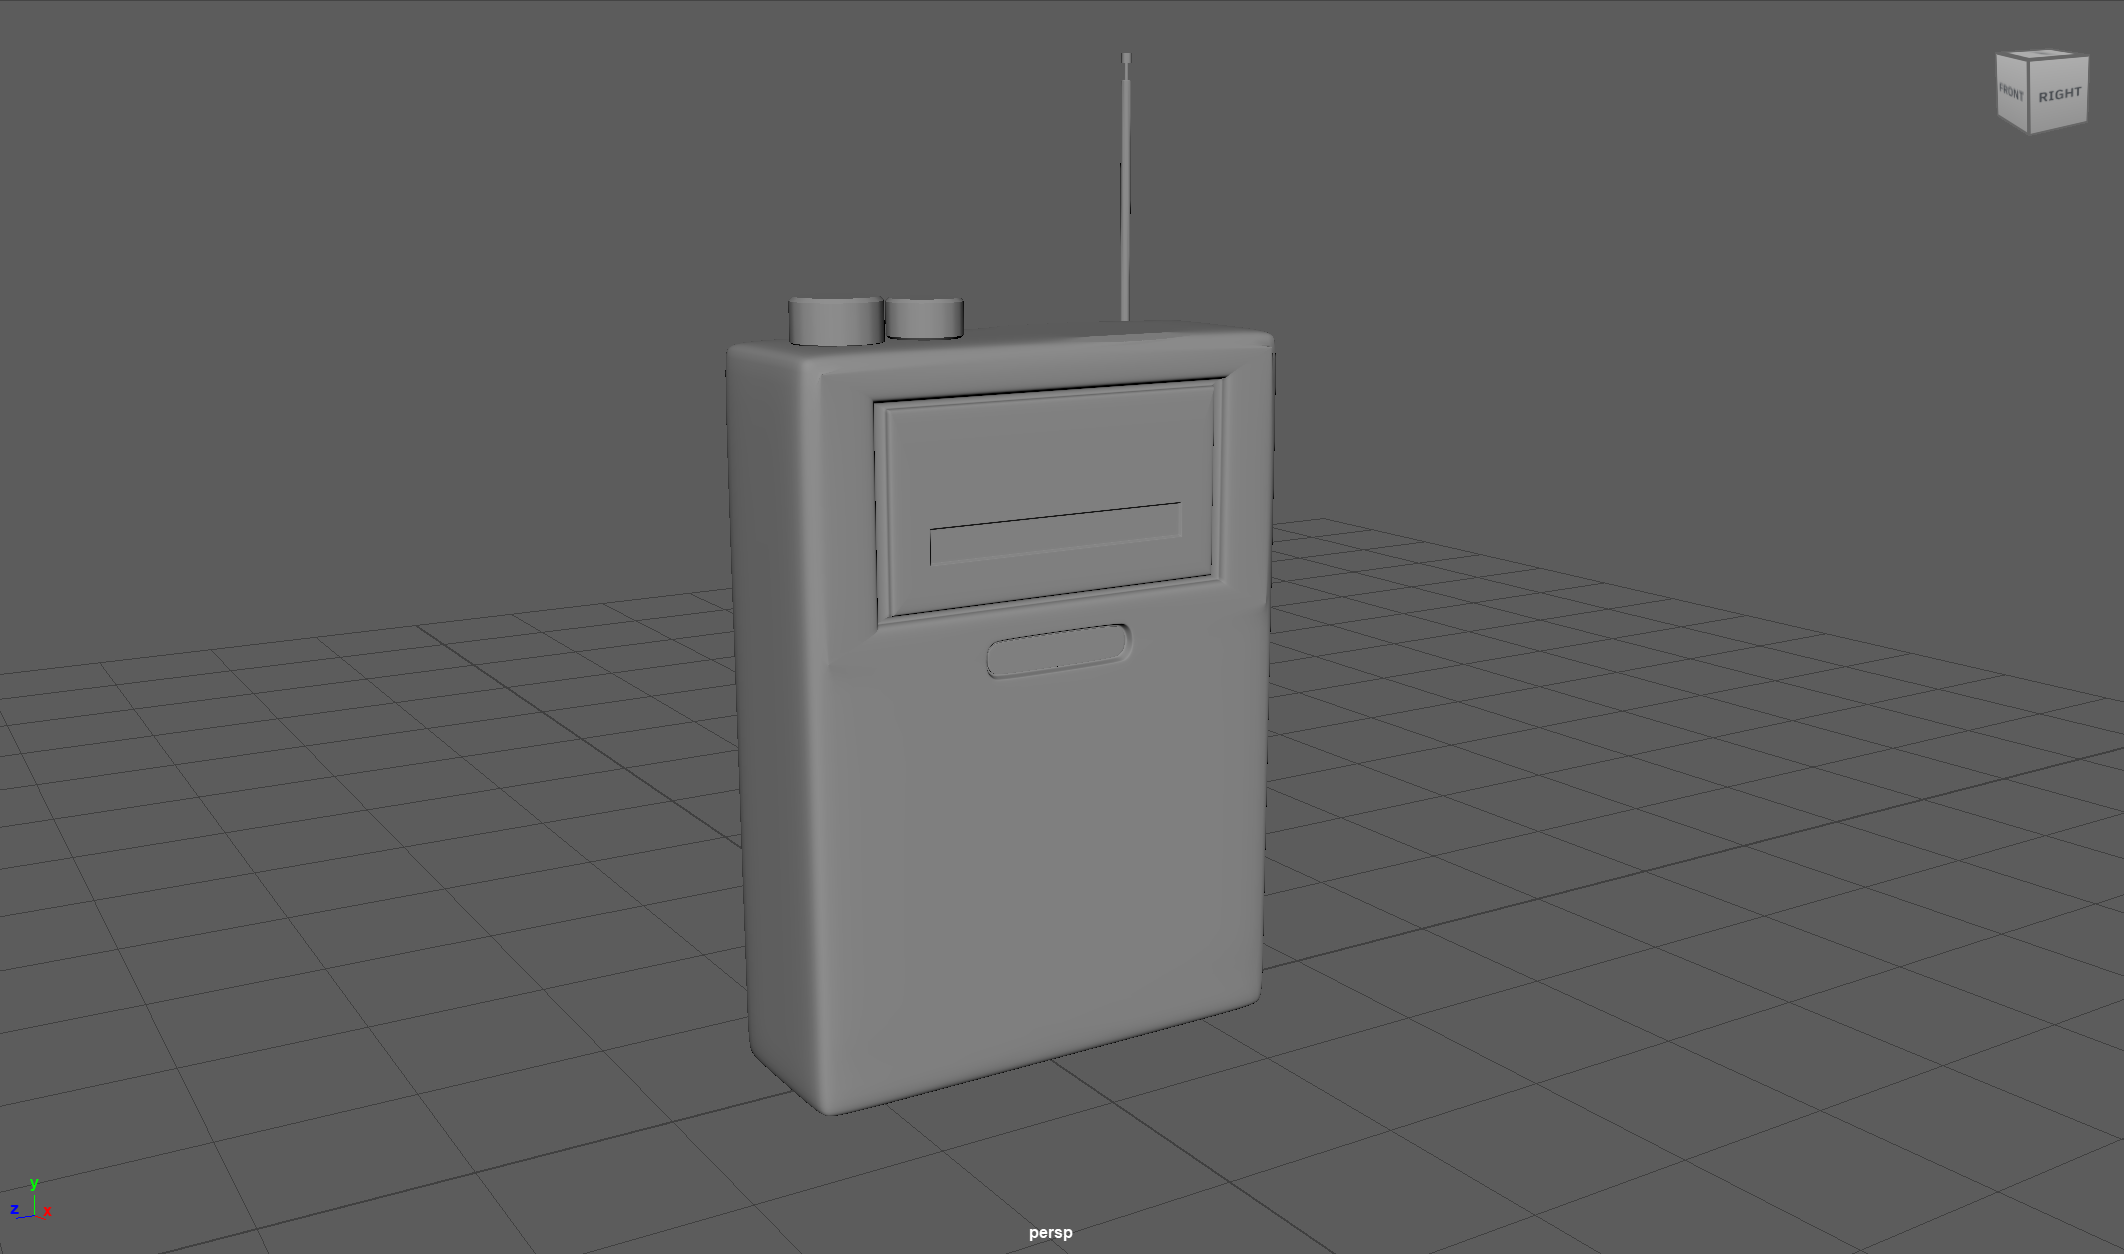
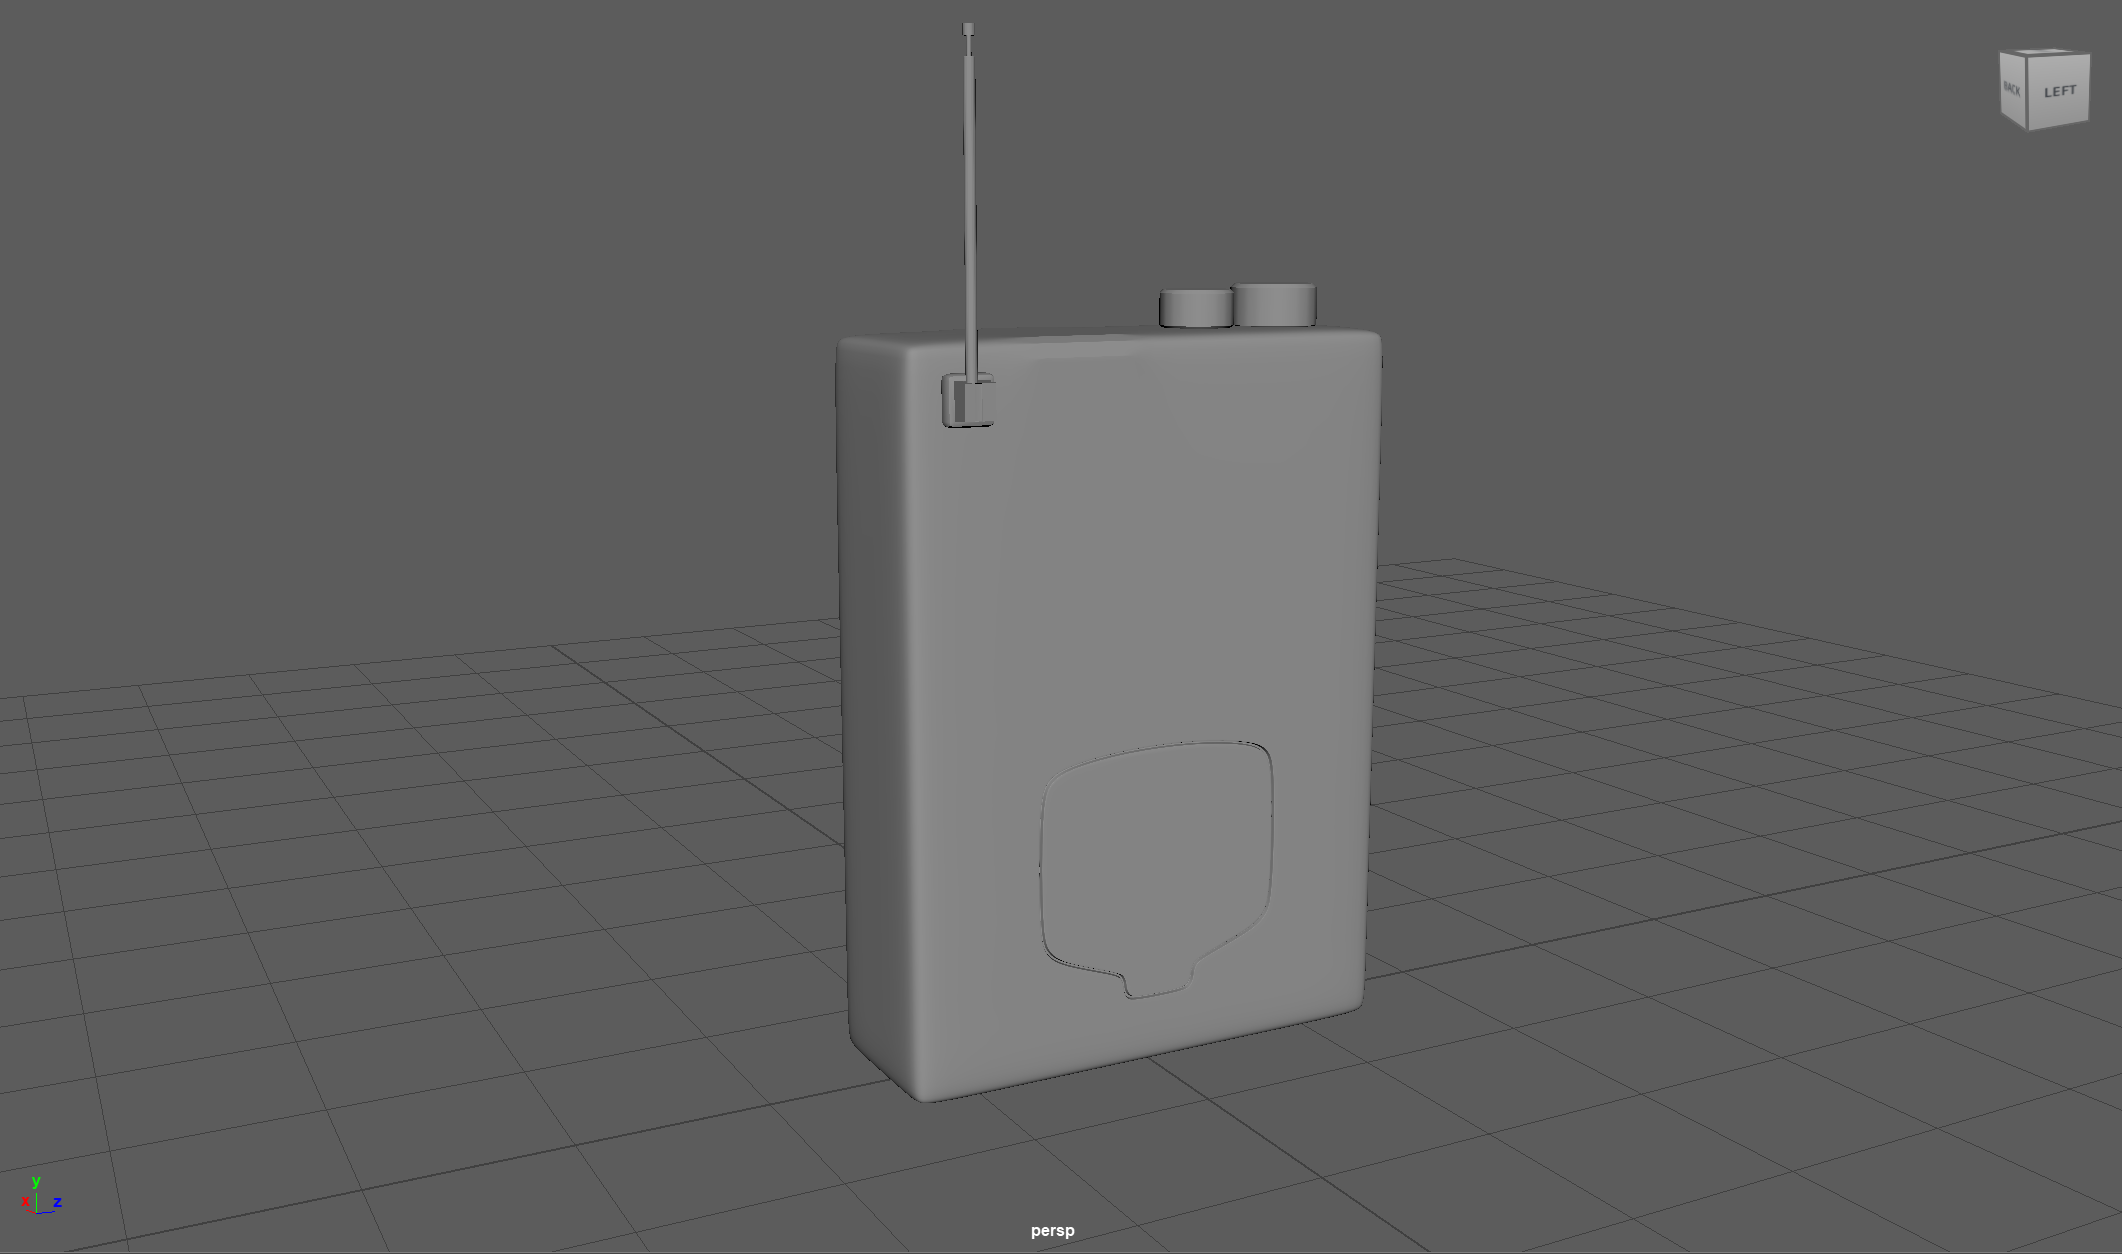
In class today we focused on developing our assets. Since we were told that it would be better to focus on less organic objects, I decided that I would make the milk carton, radio and cash register from Kiki’s Delivery Service. I started with the easiest, the milk carton which was basically just blocking out shapes. I then moved on to the radio where I blocked things out, then added details using the extrude and bevel tools.
Giorgi taught me how to bevel my extrusions to add more round details. I found this to be a bit complex in order to make a detail completely round, I need to smooth the object. The problem being if the object is not perfect then it will get messed up when being smoothed. This is where I found out that there were a lot of errors on the radio that I made. There were duplicate points and faces which I had to sort out. I also found it hard to remember which parts needed to have extra segments to make them stay straight when smoothing. I think I will stay away from smoothing for now and try to get better at building without so many errors.
Developing Assets
Finally I am now focusing on the cash register which is by far the most complicated, but not impossible. When breaking it down into simpler shapes, I found that it was a lot easier than I thought it would be to put it together. I then was able to create some surface details by extruding. It did take me a very long time to match up the indentations that continued into the other shapes. There probably is a better way of doing this, but for now I will struggle.

-
![]()
Kiki's Delivery Service Milk Reference
-
![]()
Kiki's Delivery Service Milk Carton - Made In Maya
-
![]()
Kiki's Delivery Service Radio Reference
-
![]()
Kiki's Delivery Service Radio Front - Made In Maya
-
![]()
Kiki's Delivery Service Radio Back - Made In Maya
-
![]()
Kiki's Delivery Service Cash Register Reference
-
![]()
Kiki's Delivery Service Cash Register - Made In Maya

WEEK 6
During week 6 I focused on trying to understand coding a bit better through codecademy since I felt a little lost with trying to further any of the coding assignments. I also further developed my card game that I made for professional life practice during week 4. My boyfriend Jacob and I are thinking of further developing this and have started working together on this project. Jacob is focusing more on the balancing and testing, and I’m focusing on the art. I have a few ideas that I could use Maya in the future to try and model some of the tokens and cardboard pieces that we are planning on adding to our game. However at this point we are still undecided on what these might be.
For my formative I spoke to Reke about my website and how I’m doing in the course overall. I got some good feedback on my blog. I was told that the original font was quite hard to read so I will change it in the future. We also discussed how I can try to keep myself motivated and organised, which is something that I struggle quite a bit with. The solution we came up with was to sit down and work for a small amount of time everyday which can lead to me potentially working longer than I plan for. The idea behind this being that it’s the getting started bit that’s the hardest for me.
Formatives Week
WEEK 7
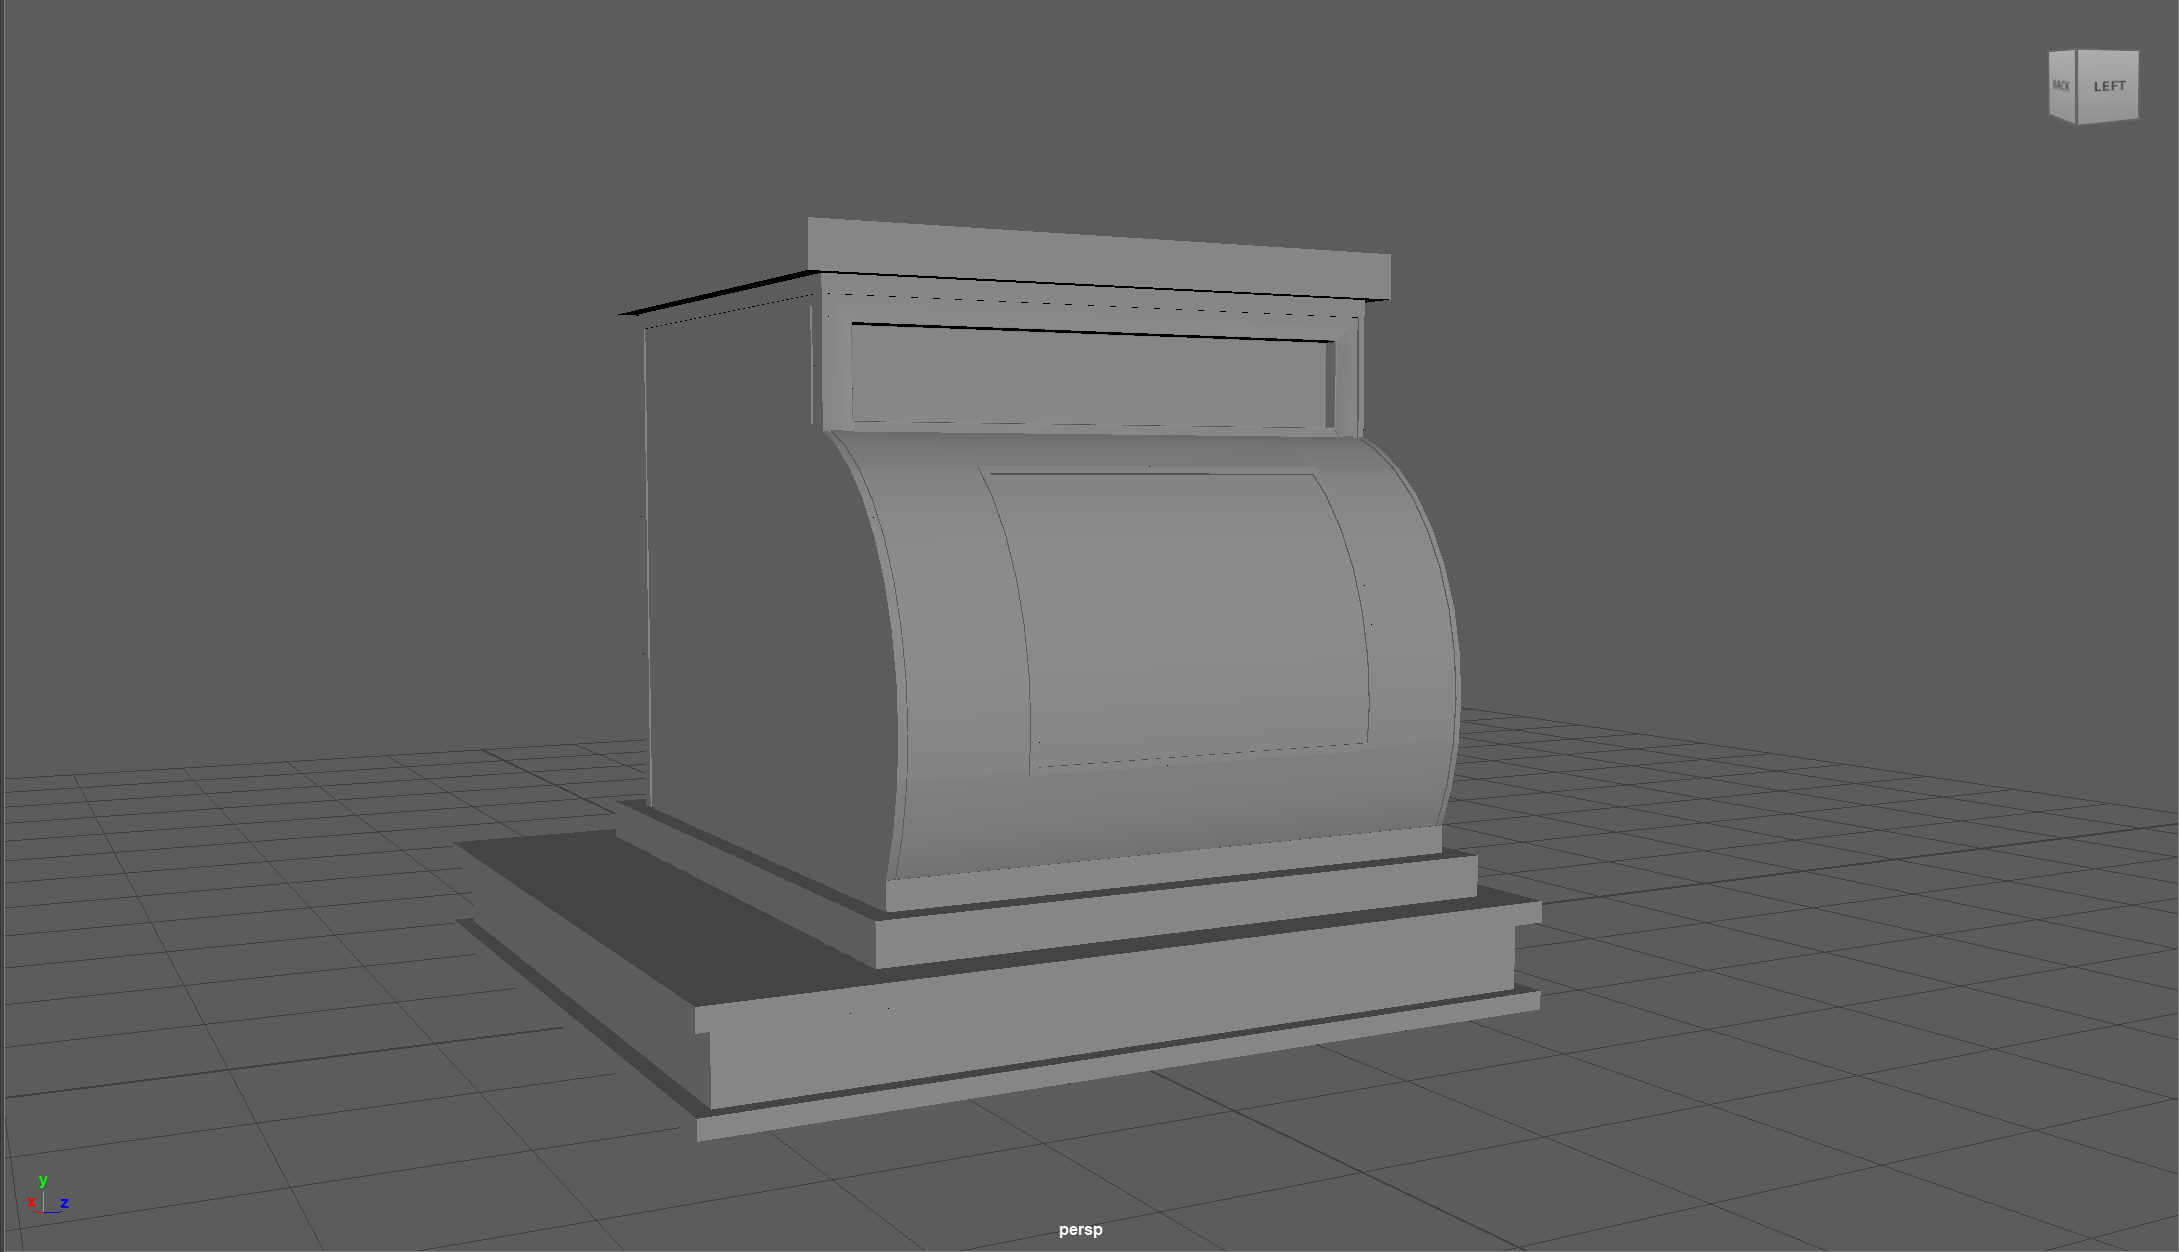
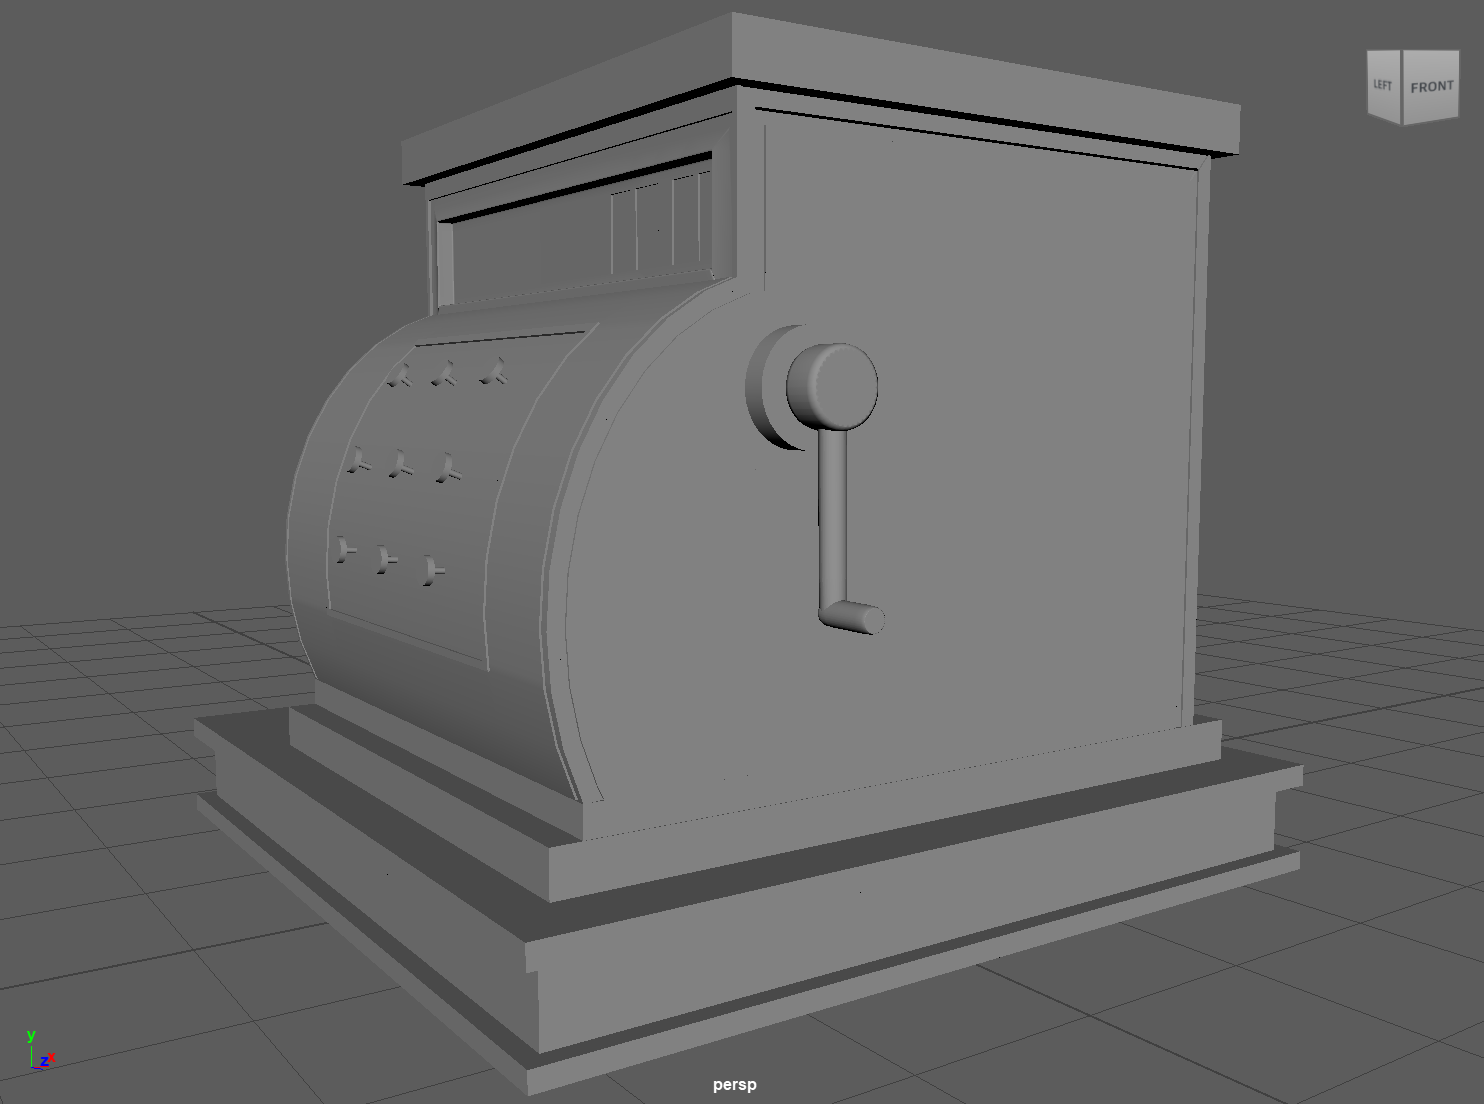
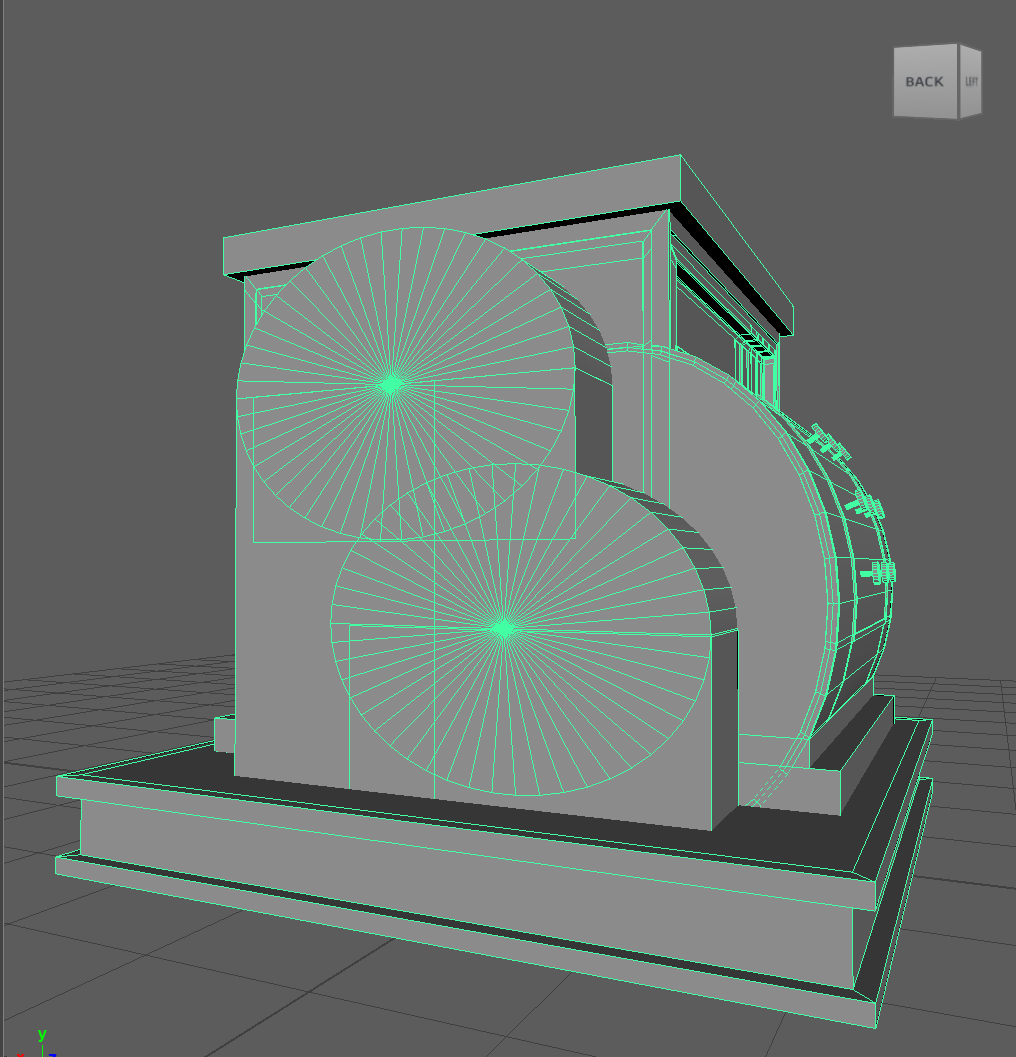
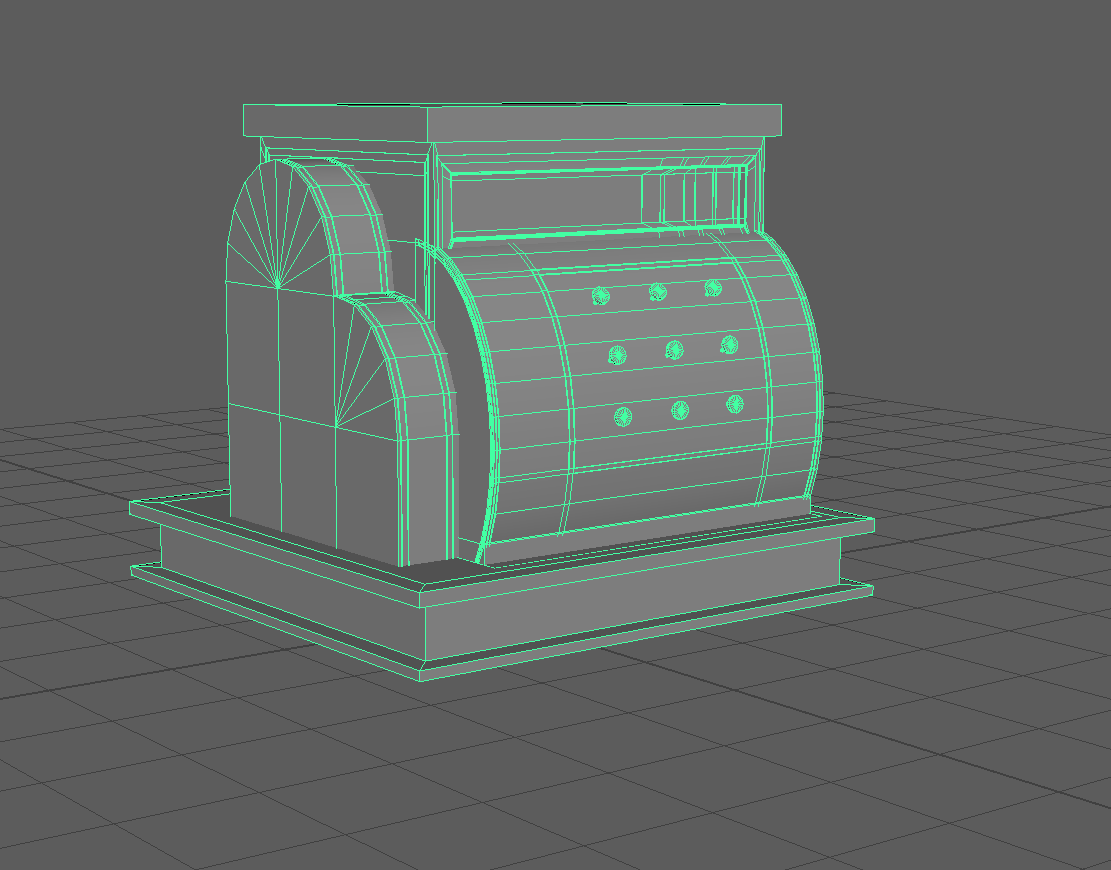
I have decided to put all of my focus on the cash register since it’s causing me so many issues. I added the extra section on the left side. It was really hard to make the cylinders and cubes line up to make a flat shape. It took me about an hour to get it to look decent. I Then added a handle on the right side. I couldn't get the shape to look as organic as the original so I just decided to stylize it into simpler shapes and keep it that way. I also added some more detail to the front where the numbers will be displayed. Finally I made the buttons on the front out of a few cylinders. I think it’s coming along quite well.
-
![]()
Kiki's Delivery Service Till Left Side - Made In Maya
-
![]()
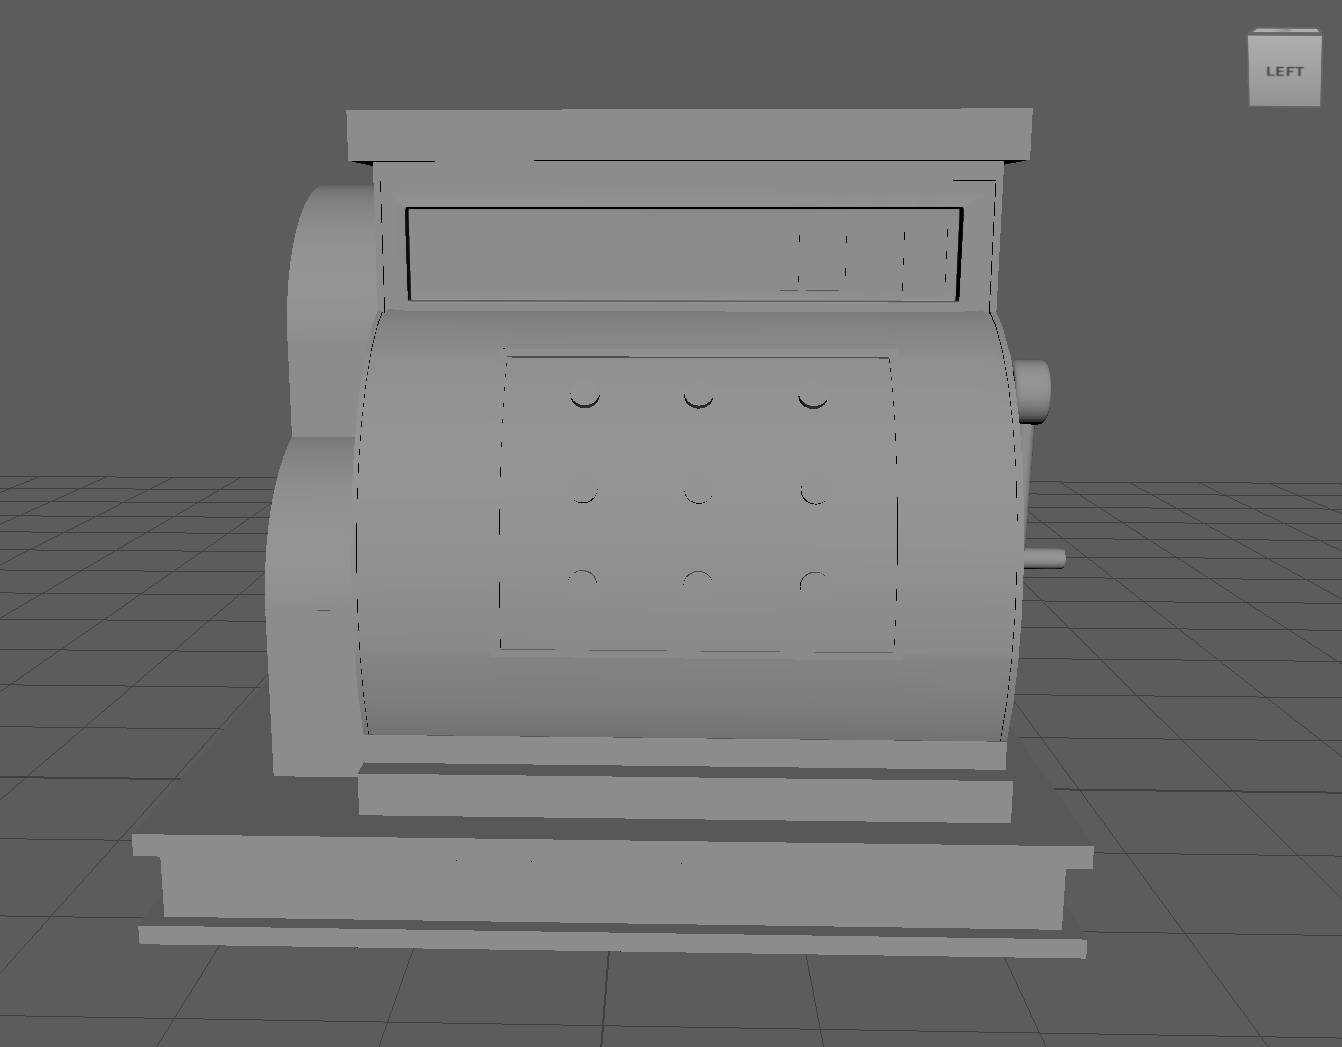
Kiki's Delivery Service Till Front - Made In Maya
-
![]()
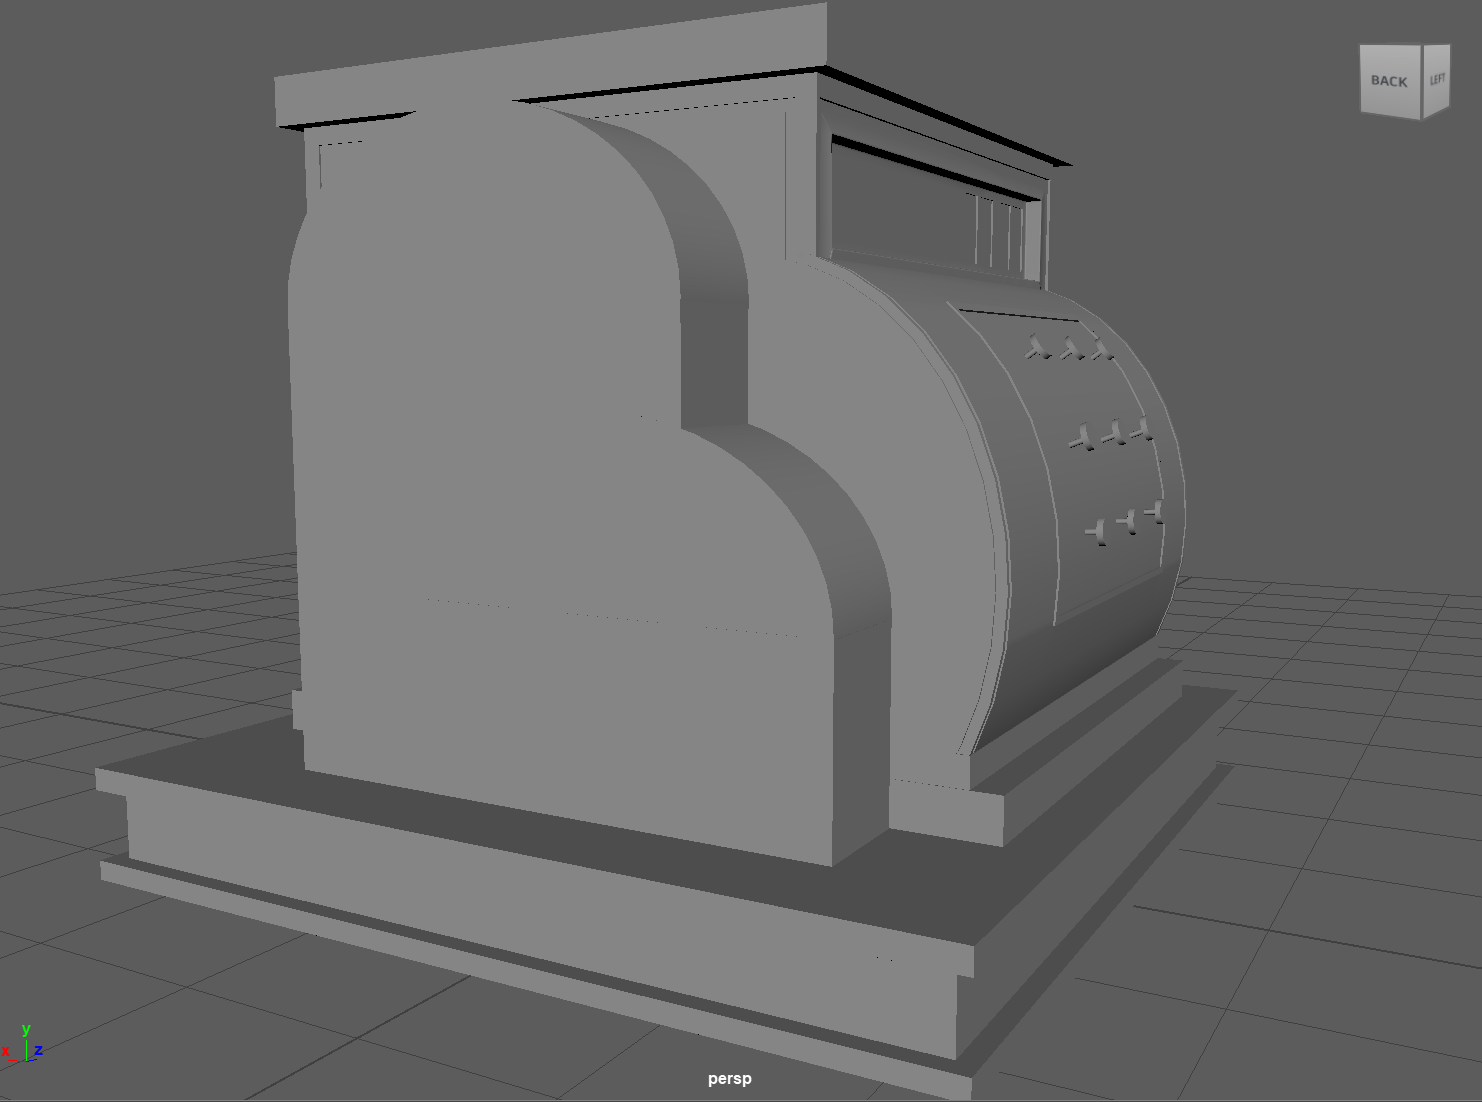
Kiki's Delivery Service Till Right Side - Made In Maya
WEEK 8
Today in class we spoke about cleaning up our models. Funny how I thought my model was done last week. We went over making turntables with the objects mesh and in black and white.
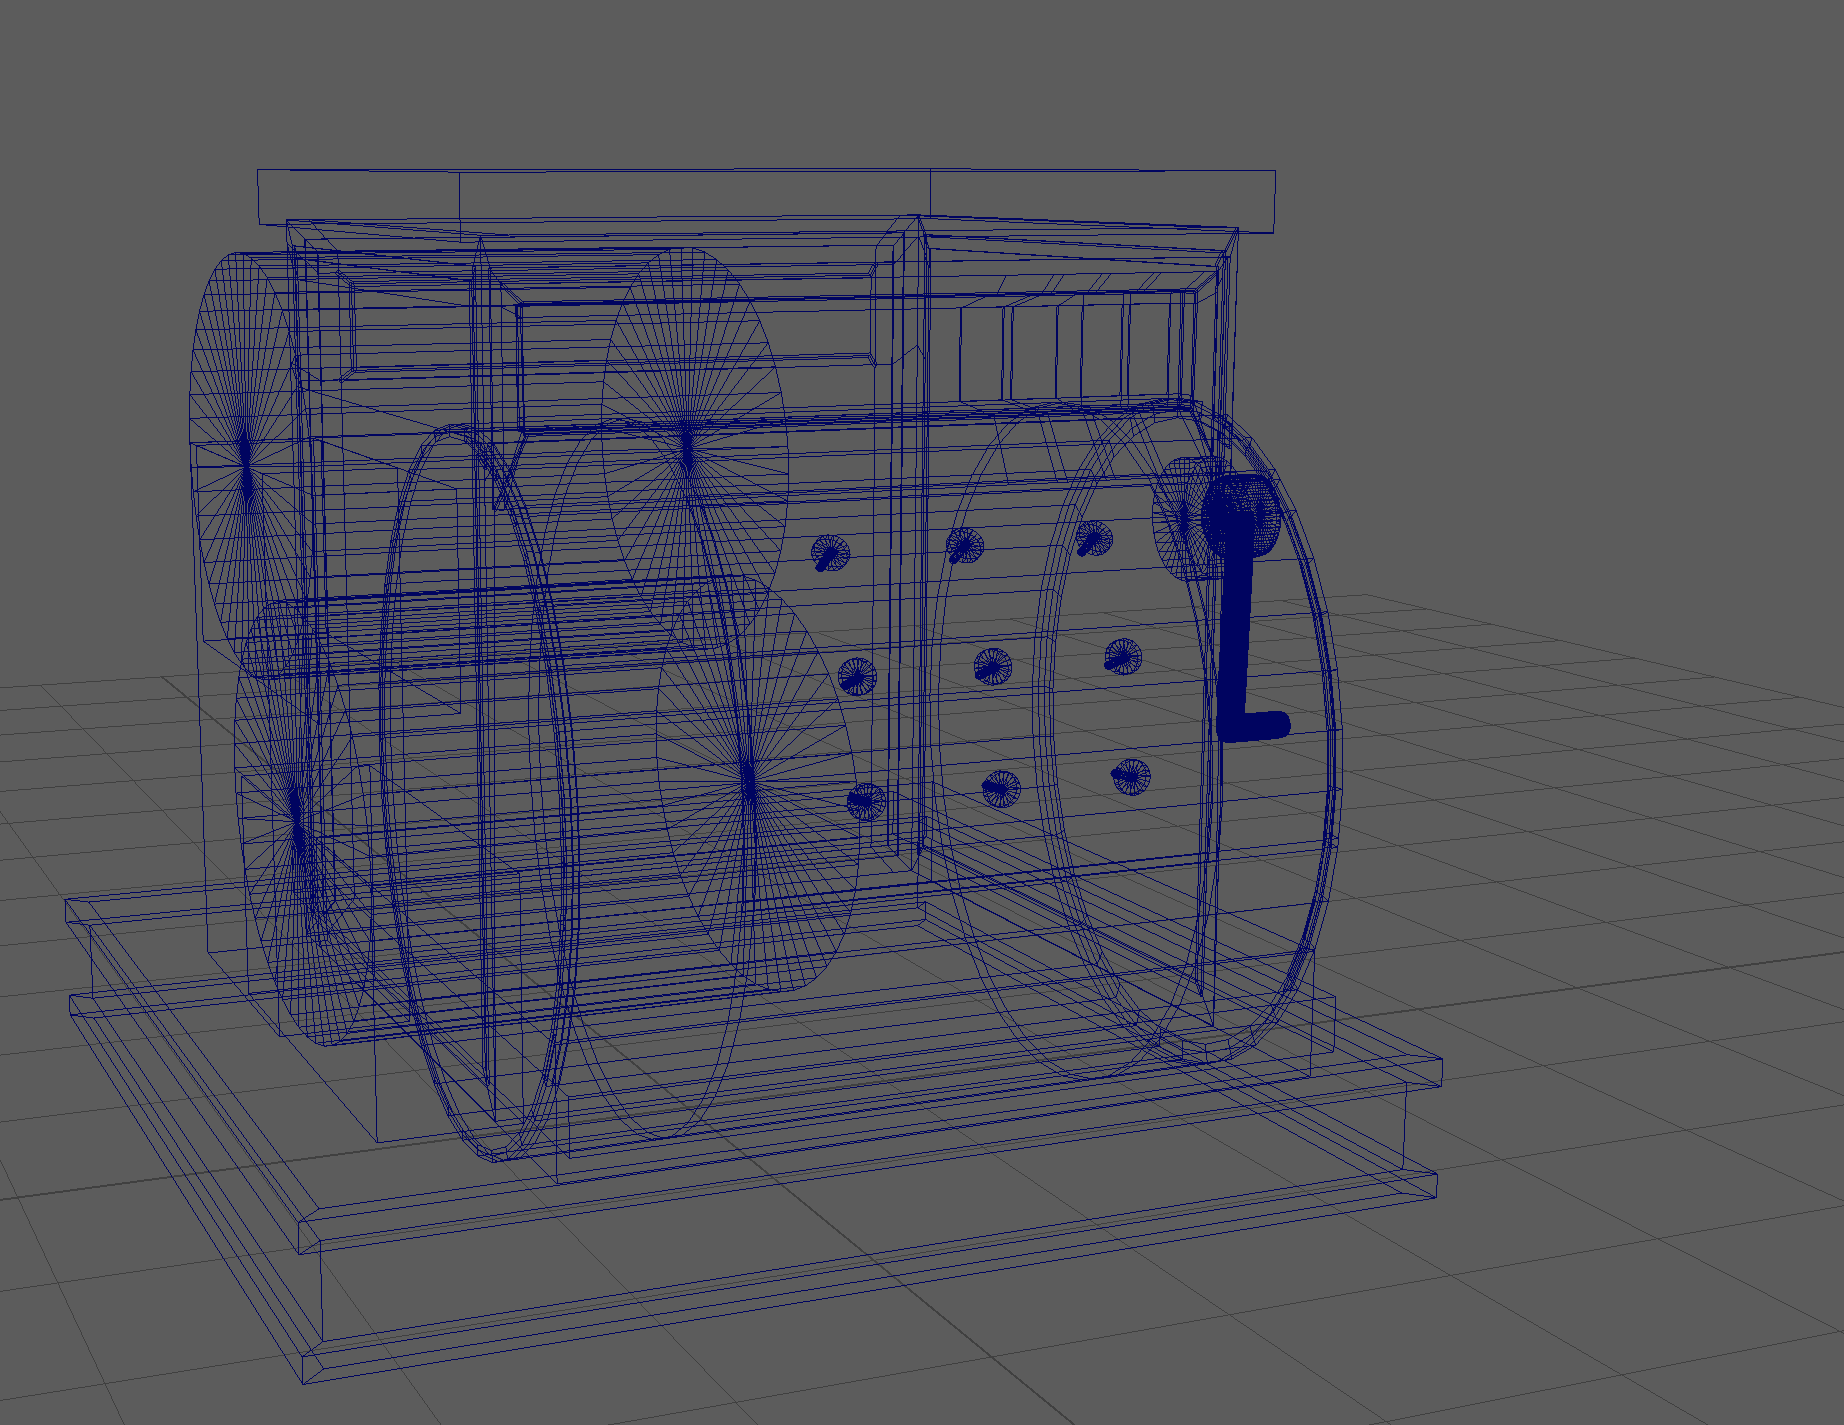
When I looked at my object's mesh, I discovered that it was very messy and wasn’t professional at all. It was this moment when I learned that I would have a really hard time creating a UV mesh for texturing. I discussed with Reke what could be done to make my object more manageable for texturing:
Grouping my objects together.
Making the shape on the side out of a cylinder by cutting it in half and then extruding the bottom part of the semicircle to create a cleaner shape.
Making sure I don’t have duplicate faces.
When trying to group things I realised that my model was taking ages to load. This is when I found out about history. Apparently I should have been deleting my history in Maya to make everything work smoother and faster. Once I deleted the history things started to work way smoother. I then tried to find solutions to some of the issues in my model. I spent the whole class playing around with things. All of the solutions I came up with ended up messing with things even more so in the end I reloaded the original project back to how it was in the beginning of class.
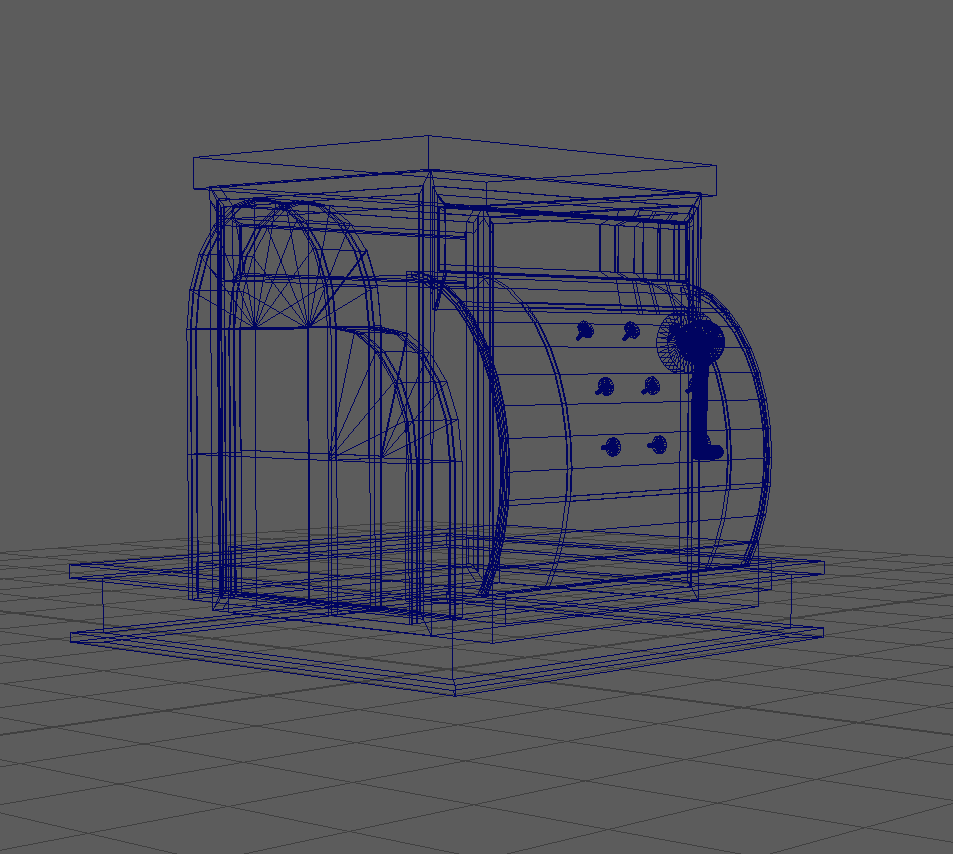
When at home I decided to focus on two parts of my model that made my wireframe look messy, the left piece on the side made up of cylinders and cubes. I re-modelled it just out of cylinders this time and corrected the size so that it doesn't go too far into the rest of the wire frame. I made sure to merge these two shapes to create one shape so that when I added indents to the faces, I would be able to do it in one go. I then deleted the part of the big cylinder that the buttons are attached to that overlaps into the base to make things cleaner. I also remade the base that holds the till since it had duplicated faces. In the end it looks a lot better and will hopefully be a lot easier to texture.
Working in Class
Working at Home
Before
After
WEEK 9
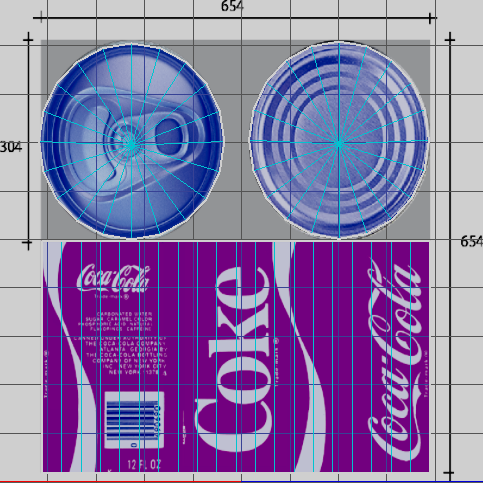
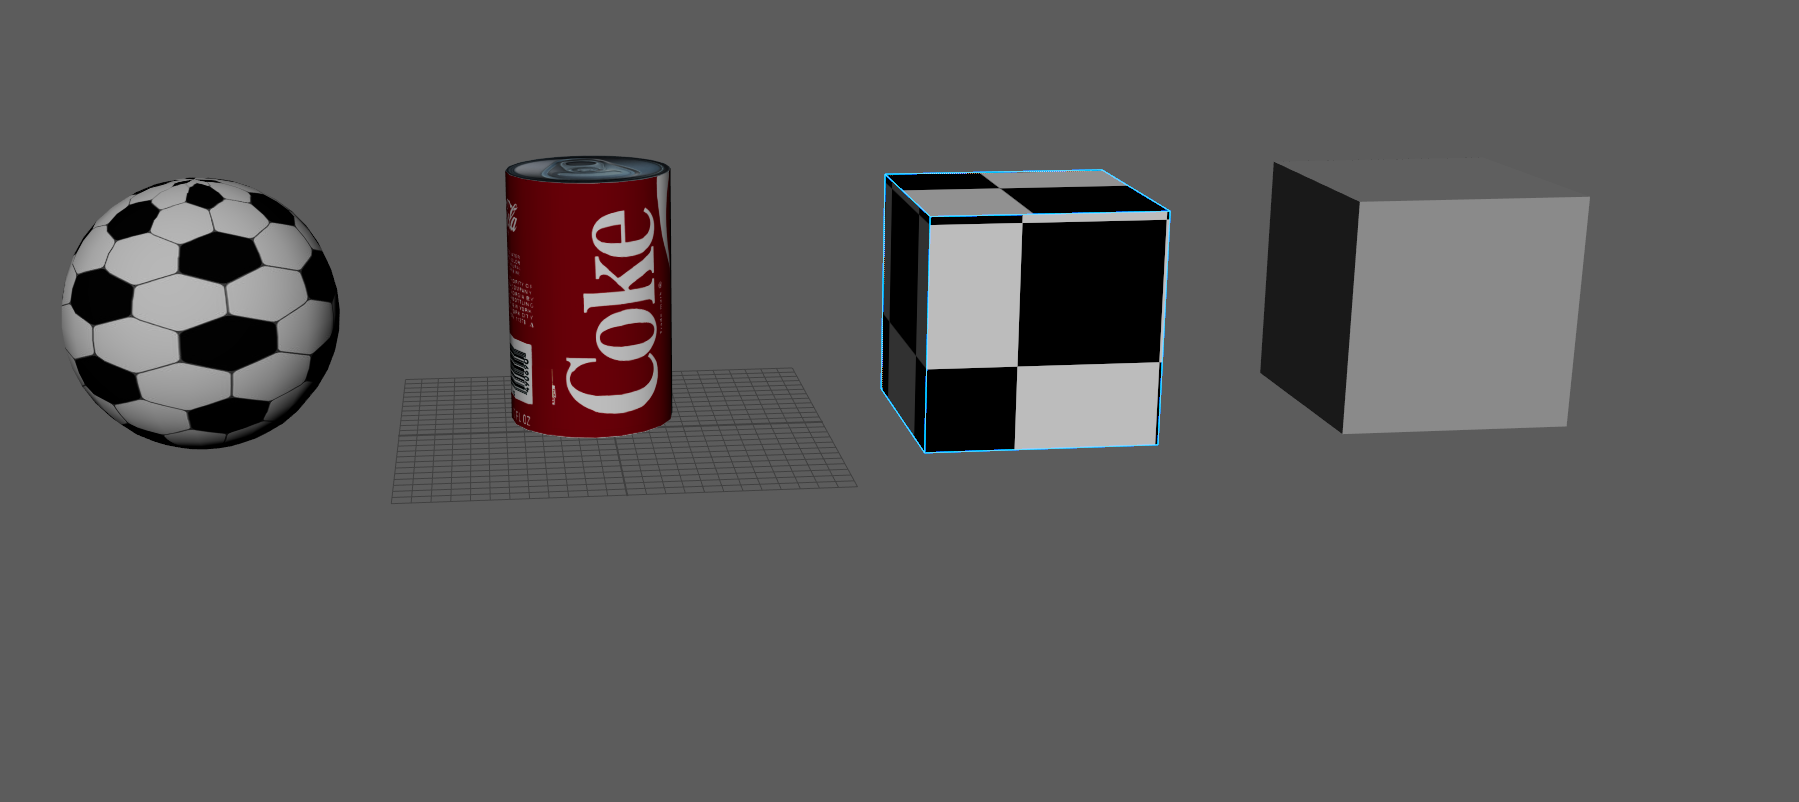
We went over texturing and UV maps this week. I was absolutely terrified for this class. It was simple enough unfolding a cube in unity but when it came to stitching it back together again I really struggled. I’m not great with puzzles and this felt a lot like a puzzle. I had a few issues when it came to texturing the cylinder. I followed the same steps as when we textured the cubes. For some reason when putting the texture on the UV mapping that I made the texture wouldn’t show up. Even when Reke came over to help, he couldn’t figure out why it wasn’t showing. In the end I used the default UV map for the cylinder and it ended up working fine.
Since I spent so much time on fixing my issues with the cylinder, I wasn’t able to figure out the sphere in time. I wanted to shift my focus towards my own object as I was extremely nervous about how complicated it would be to create a UV map for it.
UV Mapping
Before I tried to map out the UV for my object, I wanted to make the wireframe turntable. While trying to make a turntable of my object, I discovered a rather annoying situation. When I applied the turntable, the cylinder part of my object would shrink. I couldn’t figure out how to fix this problem and had a little bit of a breakdown. It was only with the help of Giorgi, who is proficient in Maya, that I was able to remodel everything all over again in a more clean way. I focused less on making everything look realistic and focused more on making shapes less complex. Giorgi sat down with me and helped me make sure everything was clean and grouped properly to make it easier to create a UV map.

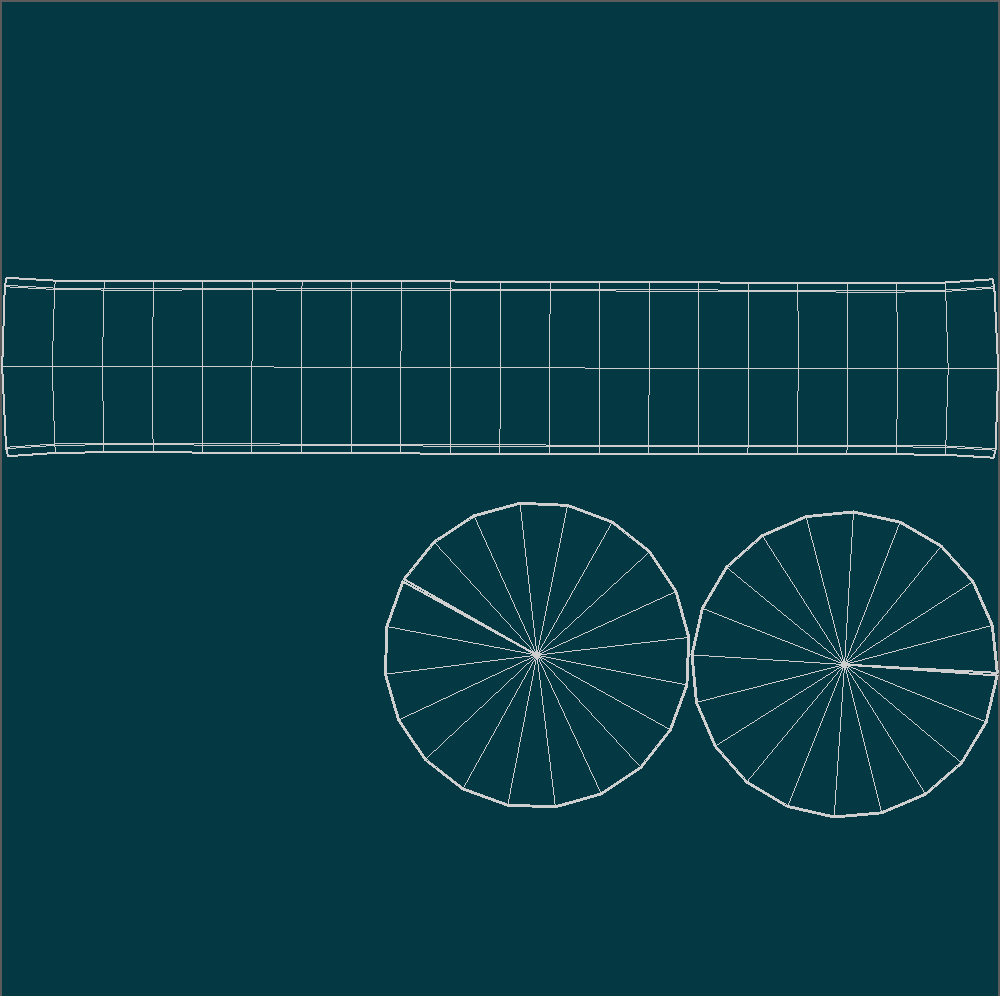
After having remade the whole object, I was then able to create a wireframe texture, following a tutorial, to then create a turntable showing the objects structure. Giorgi and I then tried to figure out the turntable together as there were a few problems that I had when it came to exporting it into Adobe Media Encoder. I was finally able to get it to work by fiddling around in the export settings.

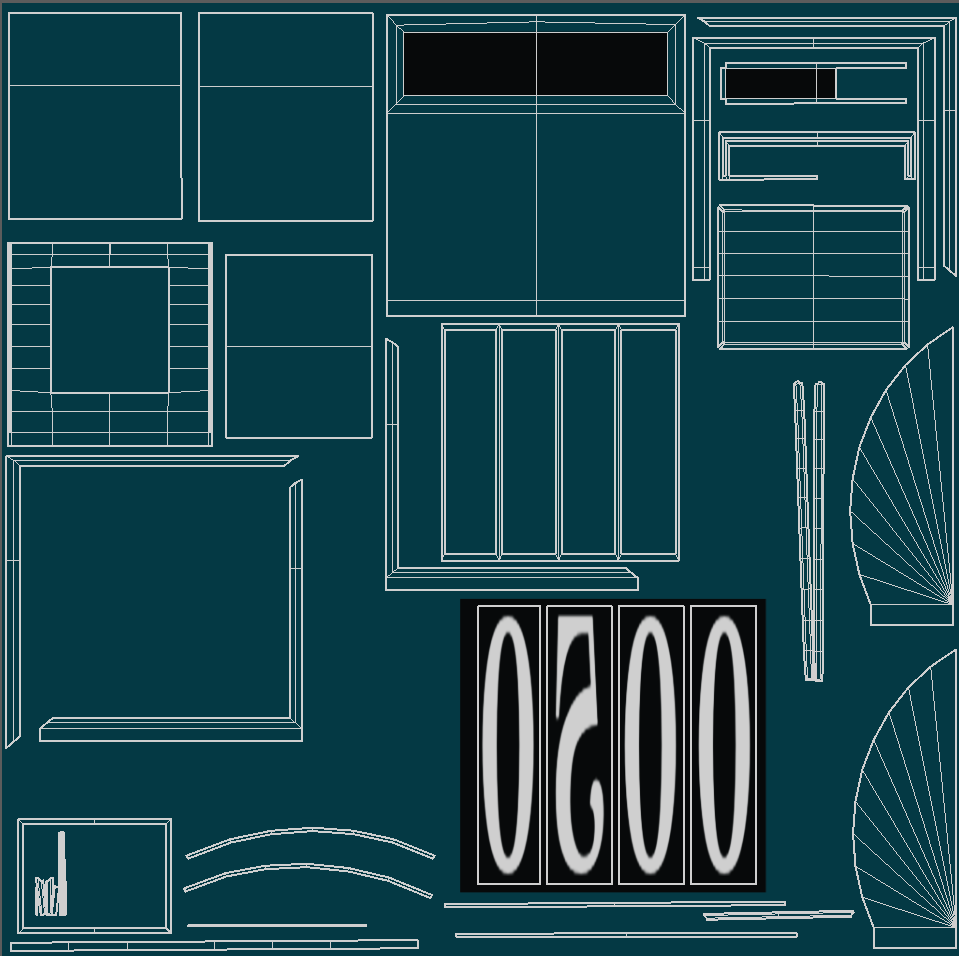
I then started to work on my UV mapping. Giorgi showed me how to lay everything out neatly so that it was easier when it came to figuring out what face belonged where on the 3d object. Since I didn’t have too many complex textures to add, I didn’t have to focus so much on stitching everything together. This actually made things so much more manageable. I haven’t finished all of the mapping yet since it took so long to figure it out.
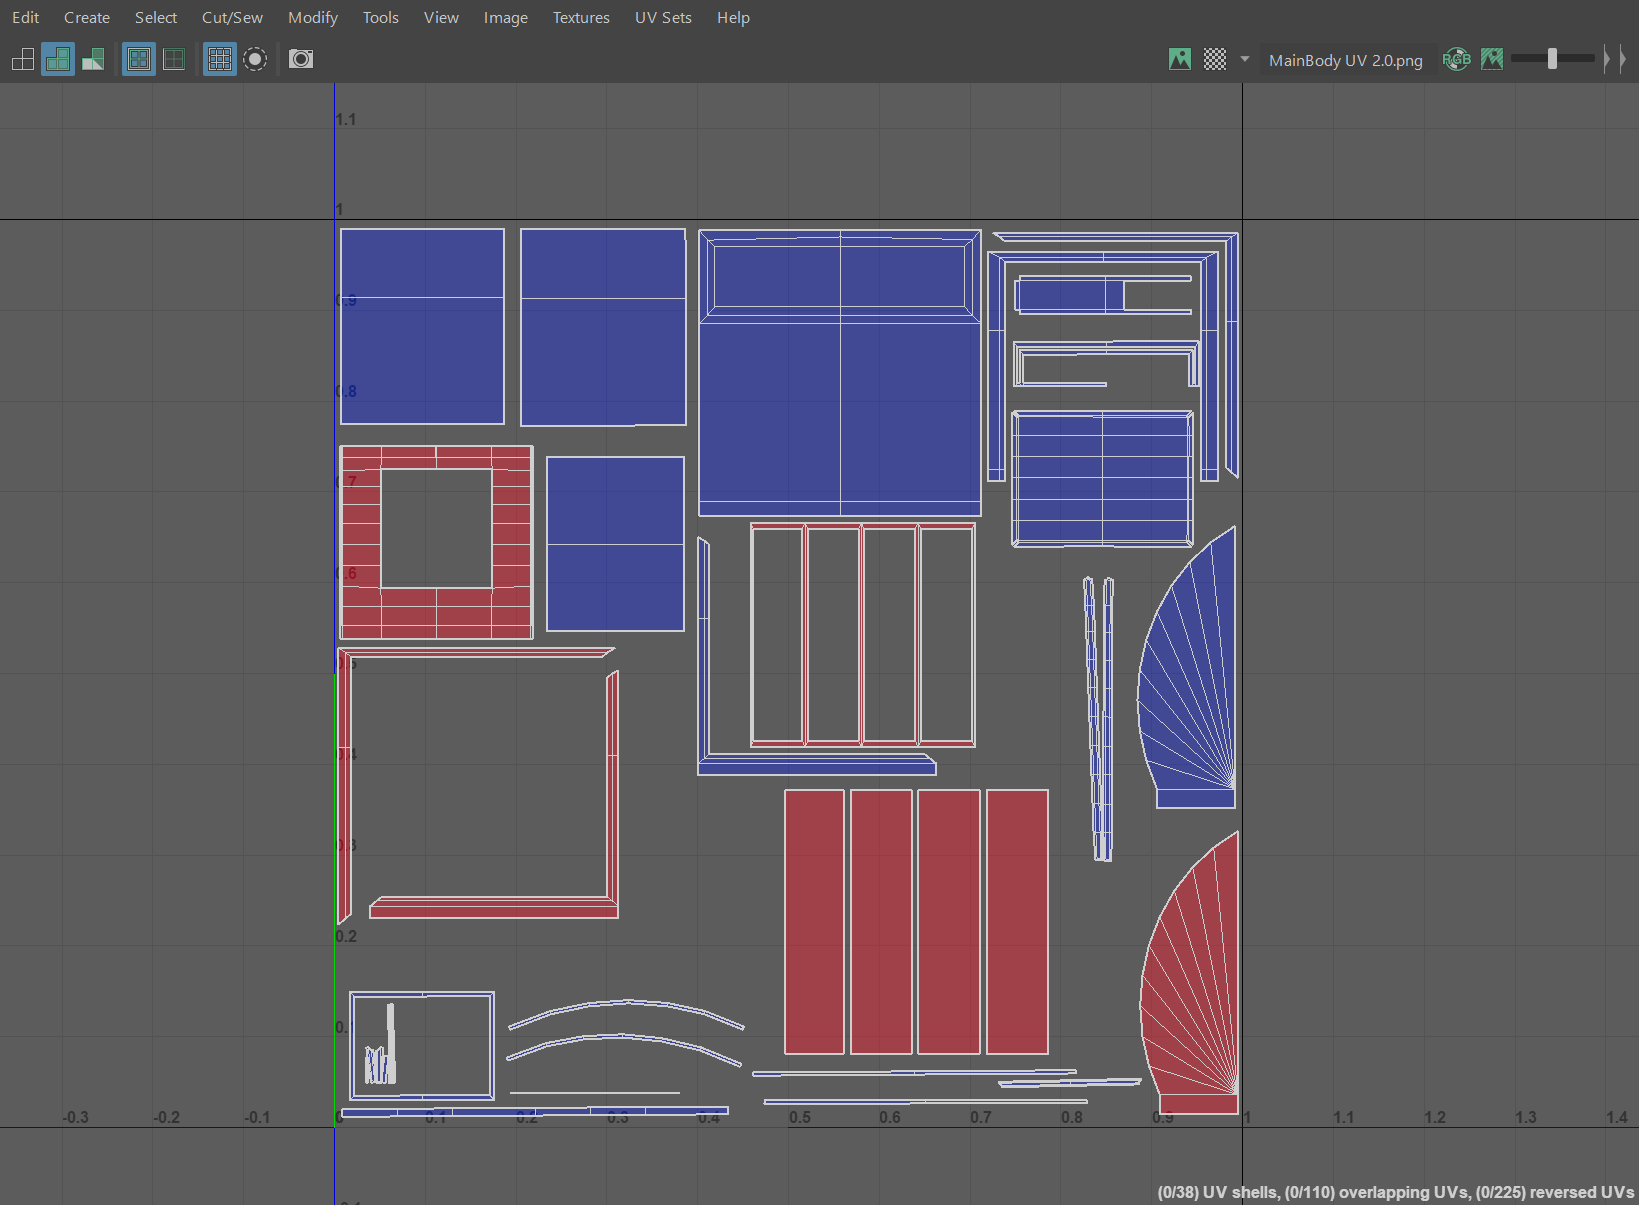
I’m aware that the red areas on my UV map mean that the face is flipped, however I realised that as long as I remember to make my image face the opposite way, it doesn’t really matter.
WEEK 10
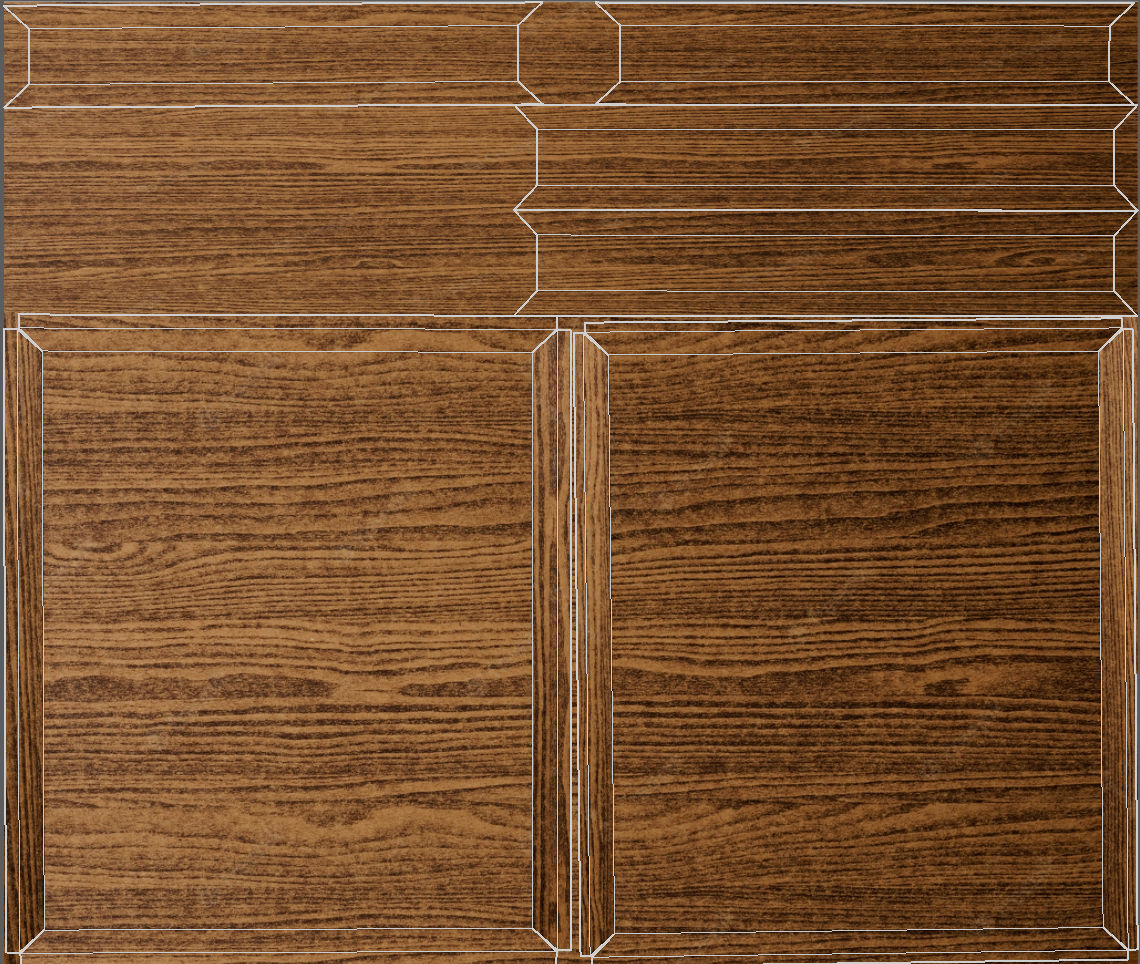
We were supposed to do a game jam this week where we all share our assets with one another to then import them into an unreal engine to make a level. However, since the majority of the class were behind on texturing, we spent the lesson further texturing our assets. I was able to complete my UV maps for my object and then fiddled around in photoshop to finally add some textures.
-
![]()
Main Body UV Map
-
![]()
Handle Nub UV Map
-
![]()
Buttons UV Map
-
![]()
Left Piece UV Map
-
![]()
Base UV Map


-
![]()
Main Body Textured
-
![]()
Handle Nub Textured
-
![]()
Buttons Textured
-
![]()
Left Piece Textured
-
![]()
Base Textured